Here is your guide to brew coffee in an Aeropress:
AEROPRESS (In a nutshell)
Amongst the many manual brewers available in the market today, the AeroPress is one such a brewer that has quickly gained popularity and its fair share of loyalists. Popular for its flexibility and portability, it brews a rich, clean cup of coffee in a fairly short amount of time.
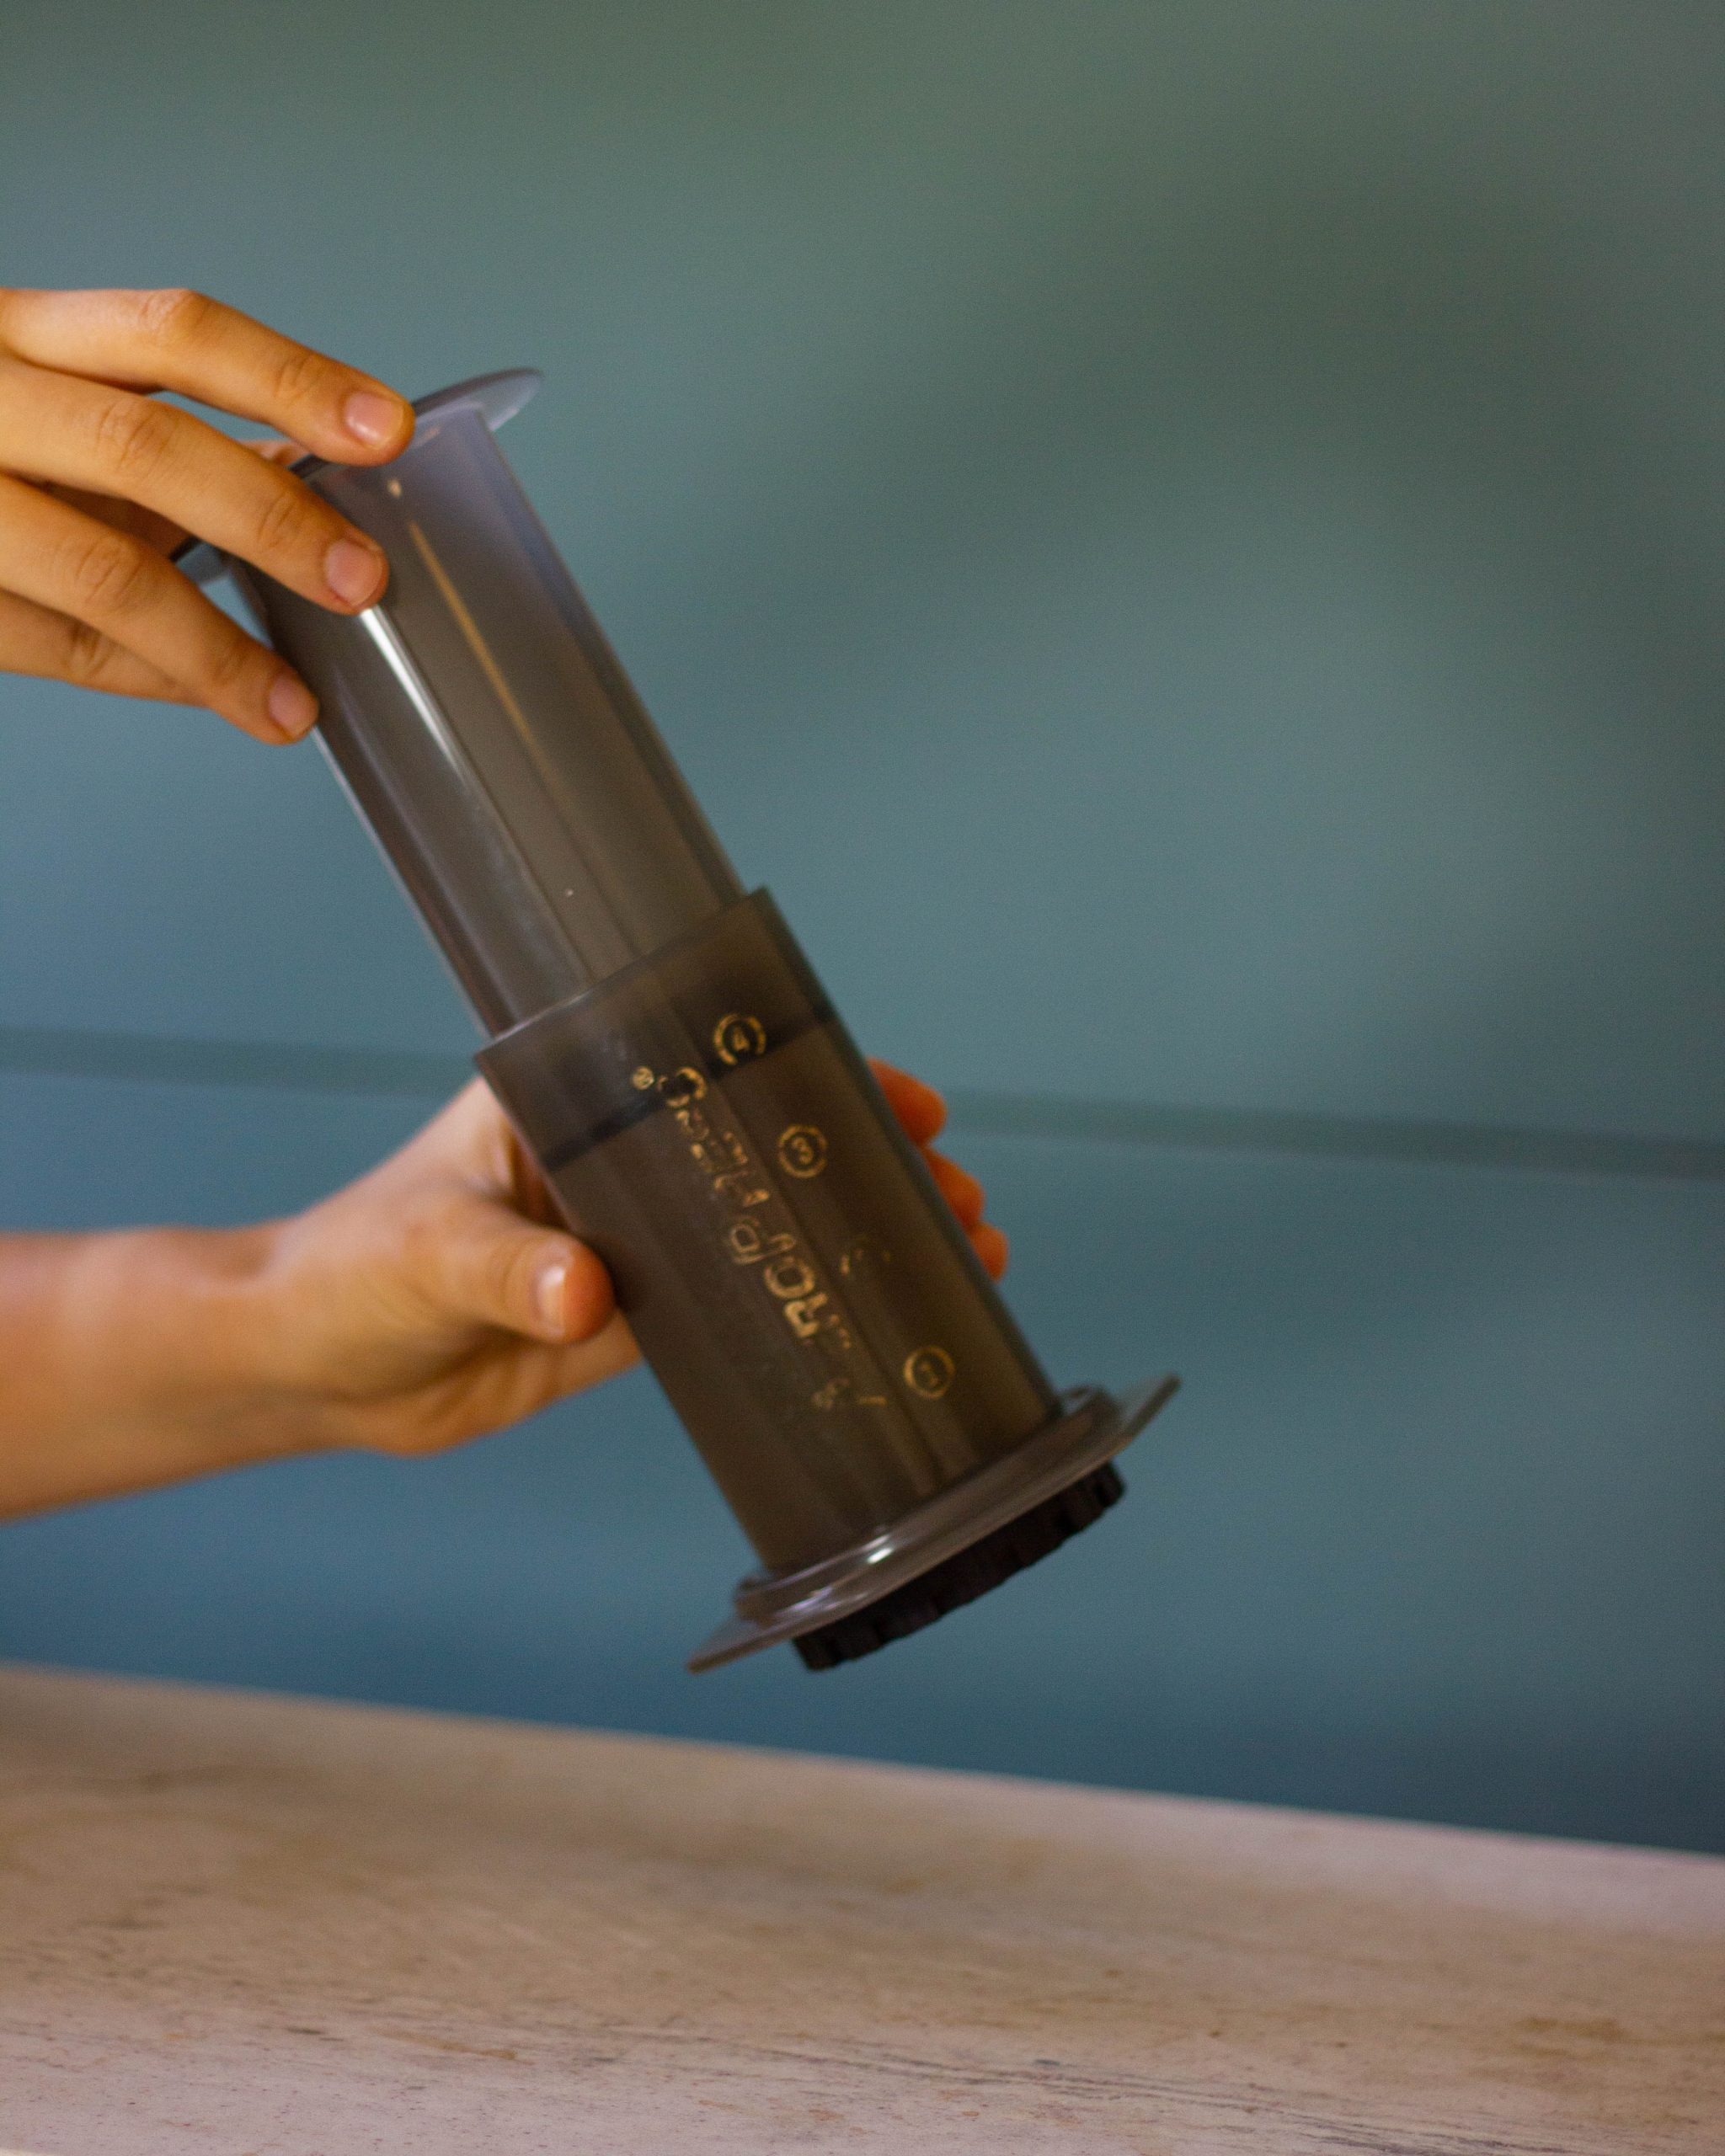
An immersion based brewer, the AeroPress comprises of two parts, a brew chamber and the plunger, attached with an airtight silicone seal. Applying pressure on the plunger increases the speed at which the coffee gets brewed. This in turn reduces the acidity and bitterness in coffee. The brew is simultaneously passed through a paper filter, which removes the coffee grinds and bitter oils from entering the cup.
So, are you looking for a guide on how to brew coffee using an AeroPress? Or are you simply curious on how an AeroPress works, before making the plunge? (pun intended!) Read along, as our guide details down the steps to brew really good coffee in an AeroPress:
You will need:
17 gms of ground Mysore Concerns coffee
Hot water
Paper filter
AeroPress
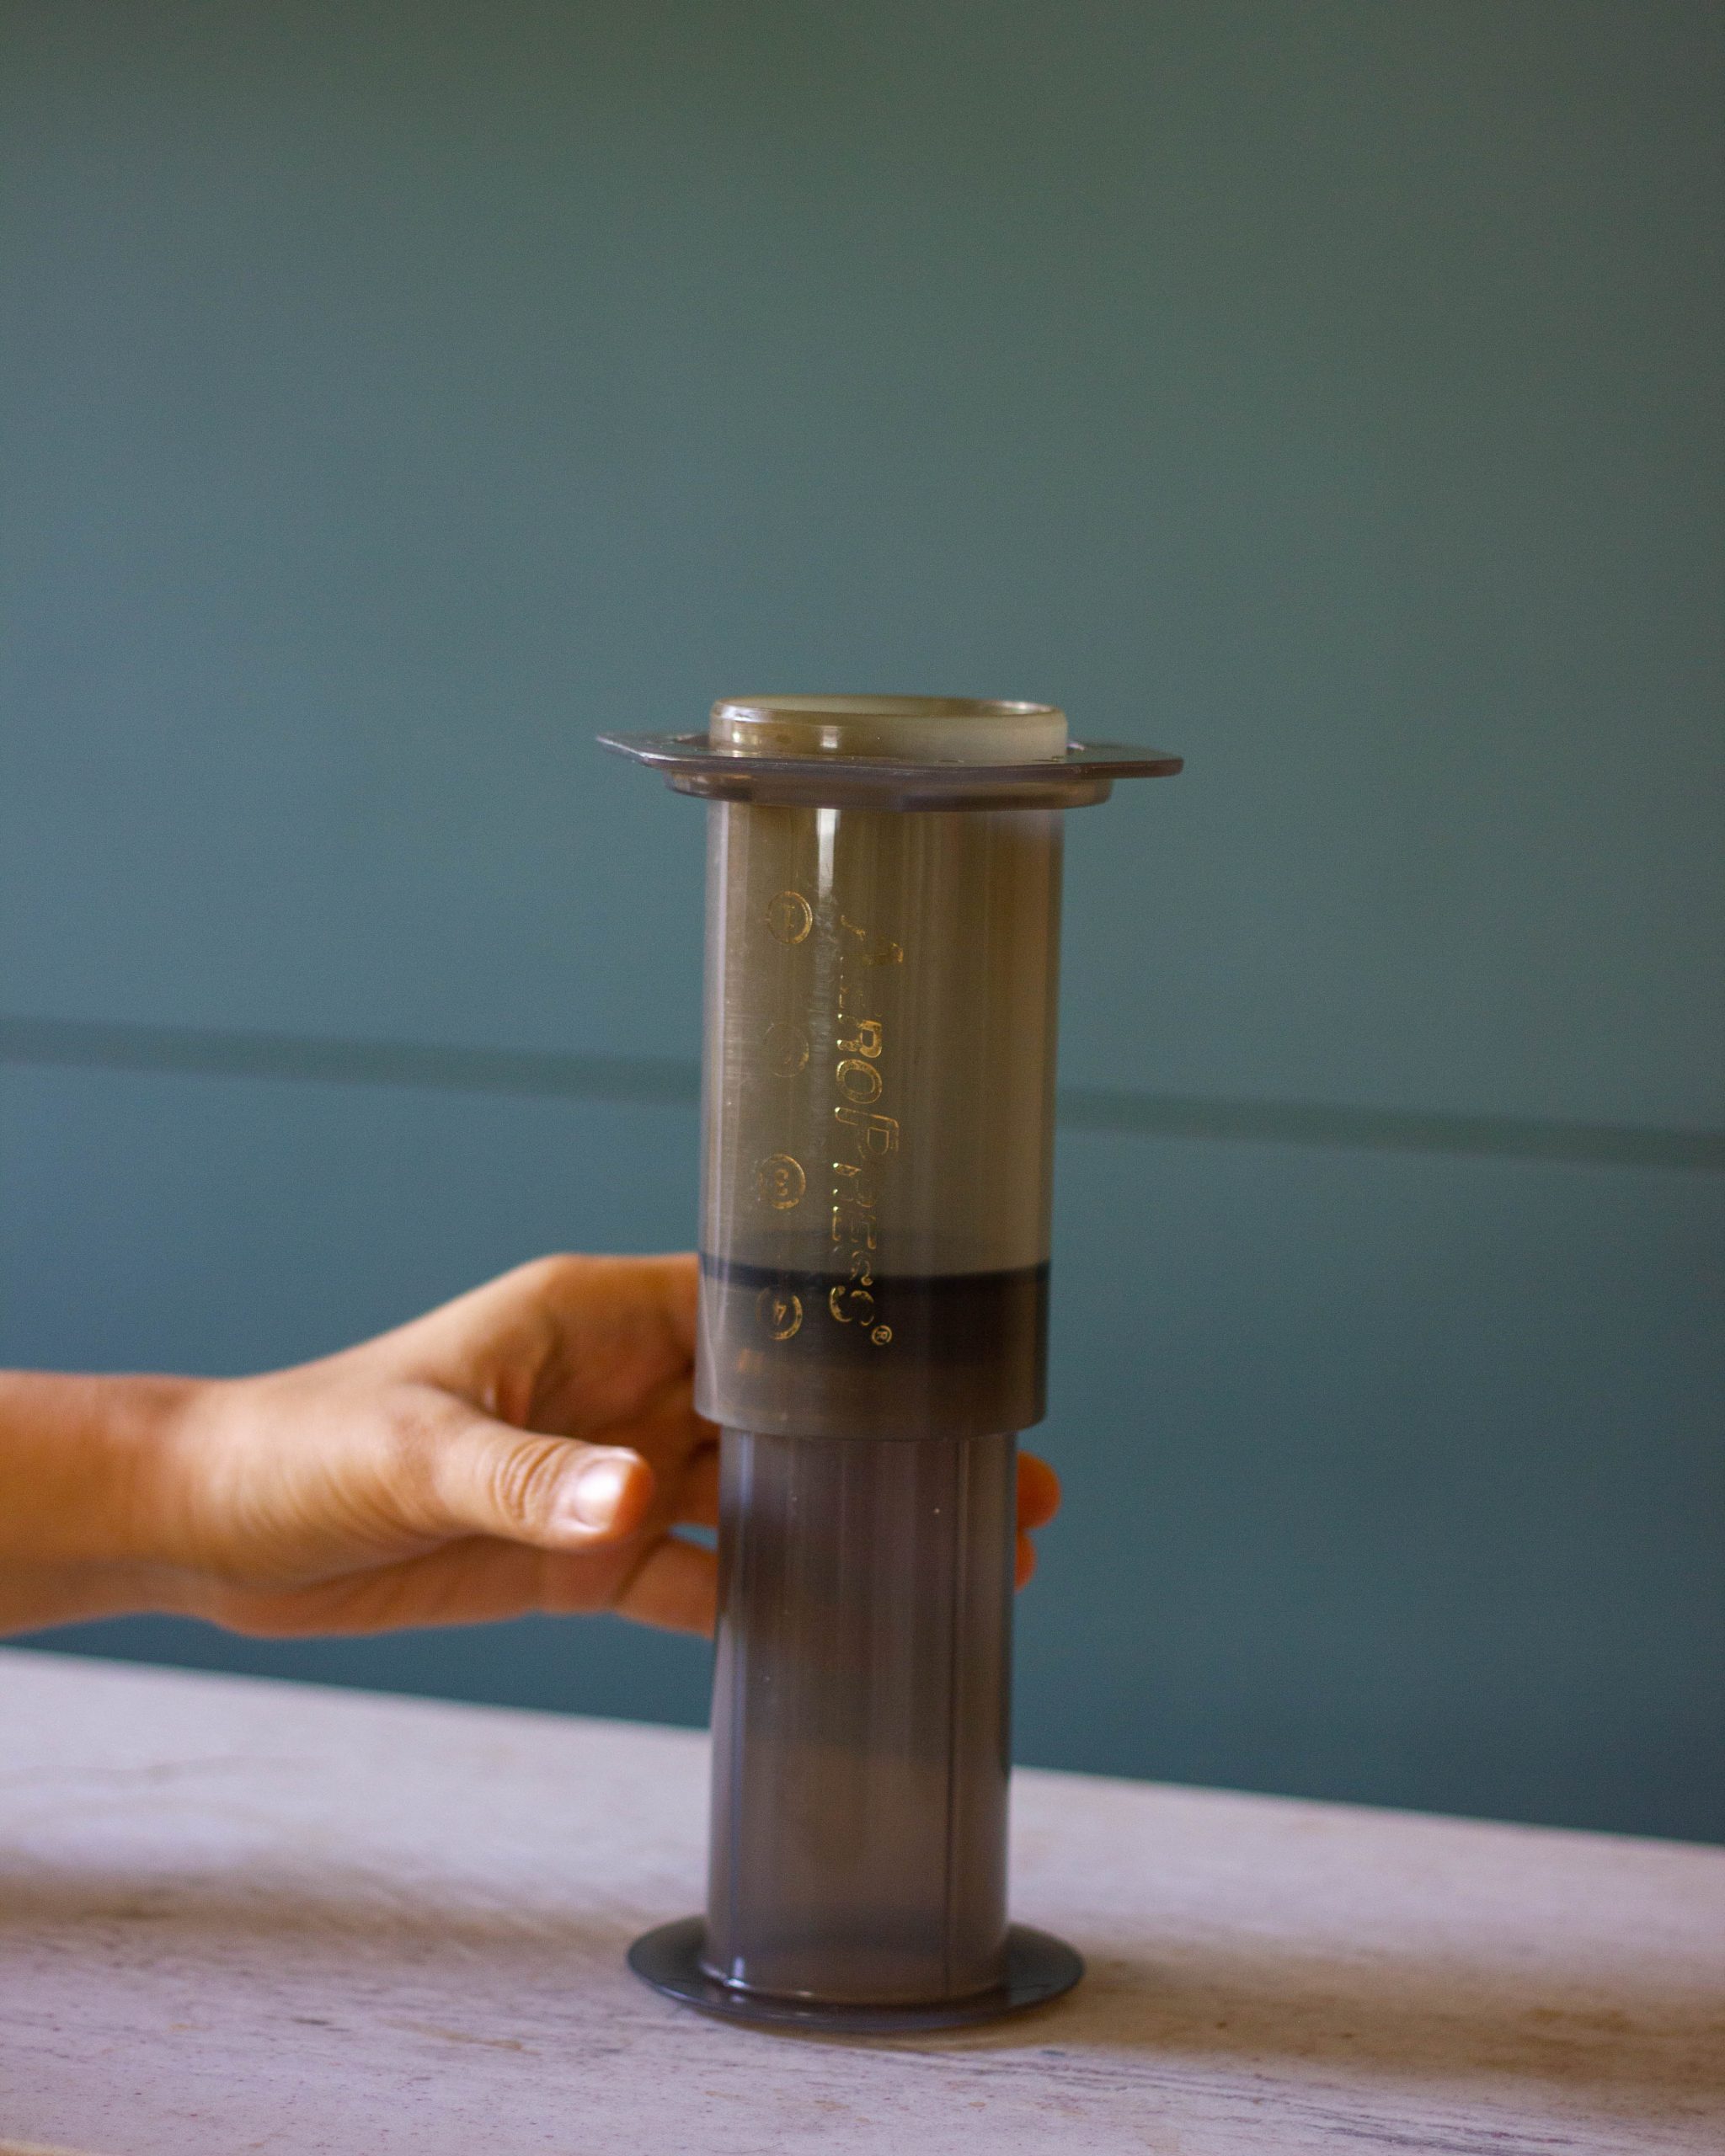
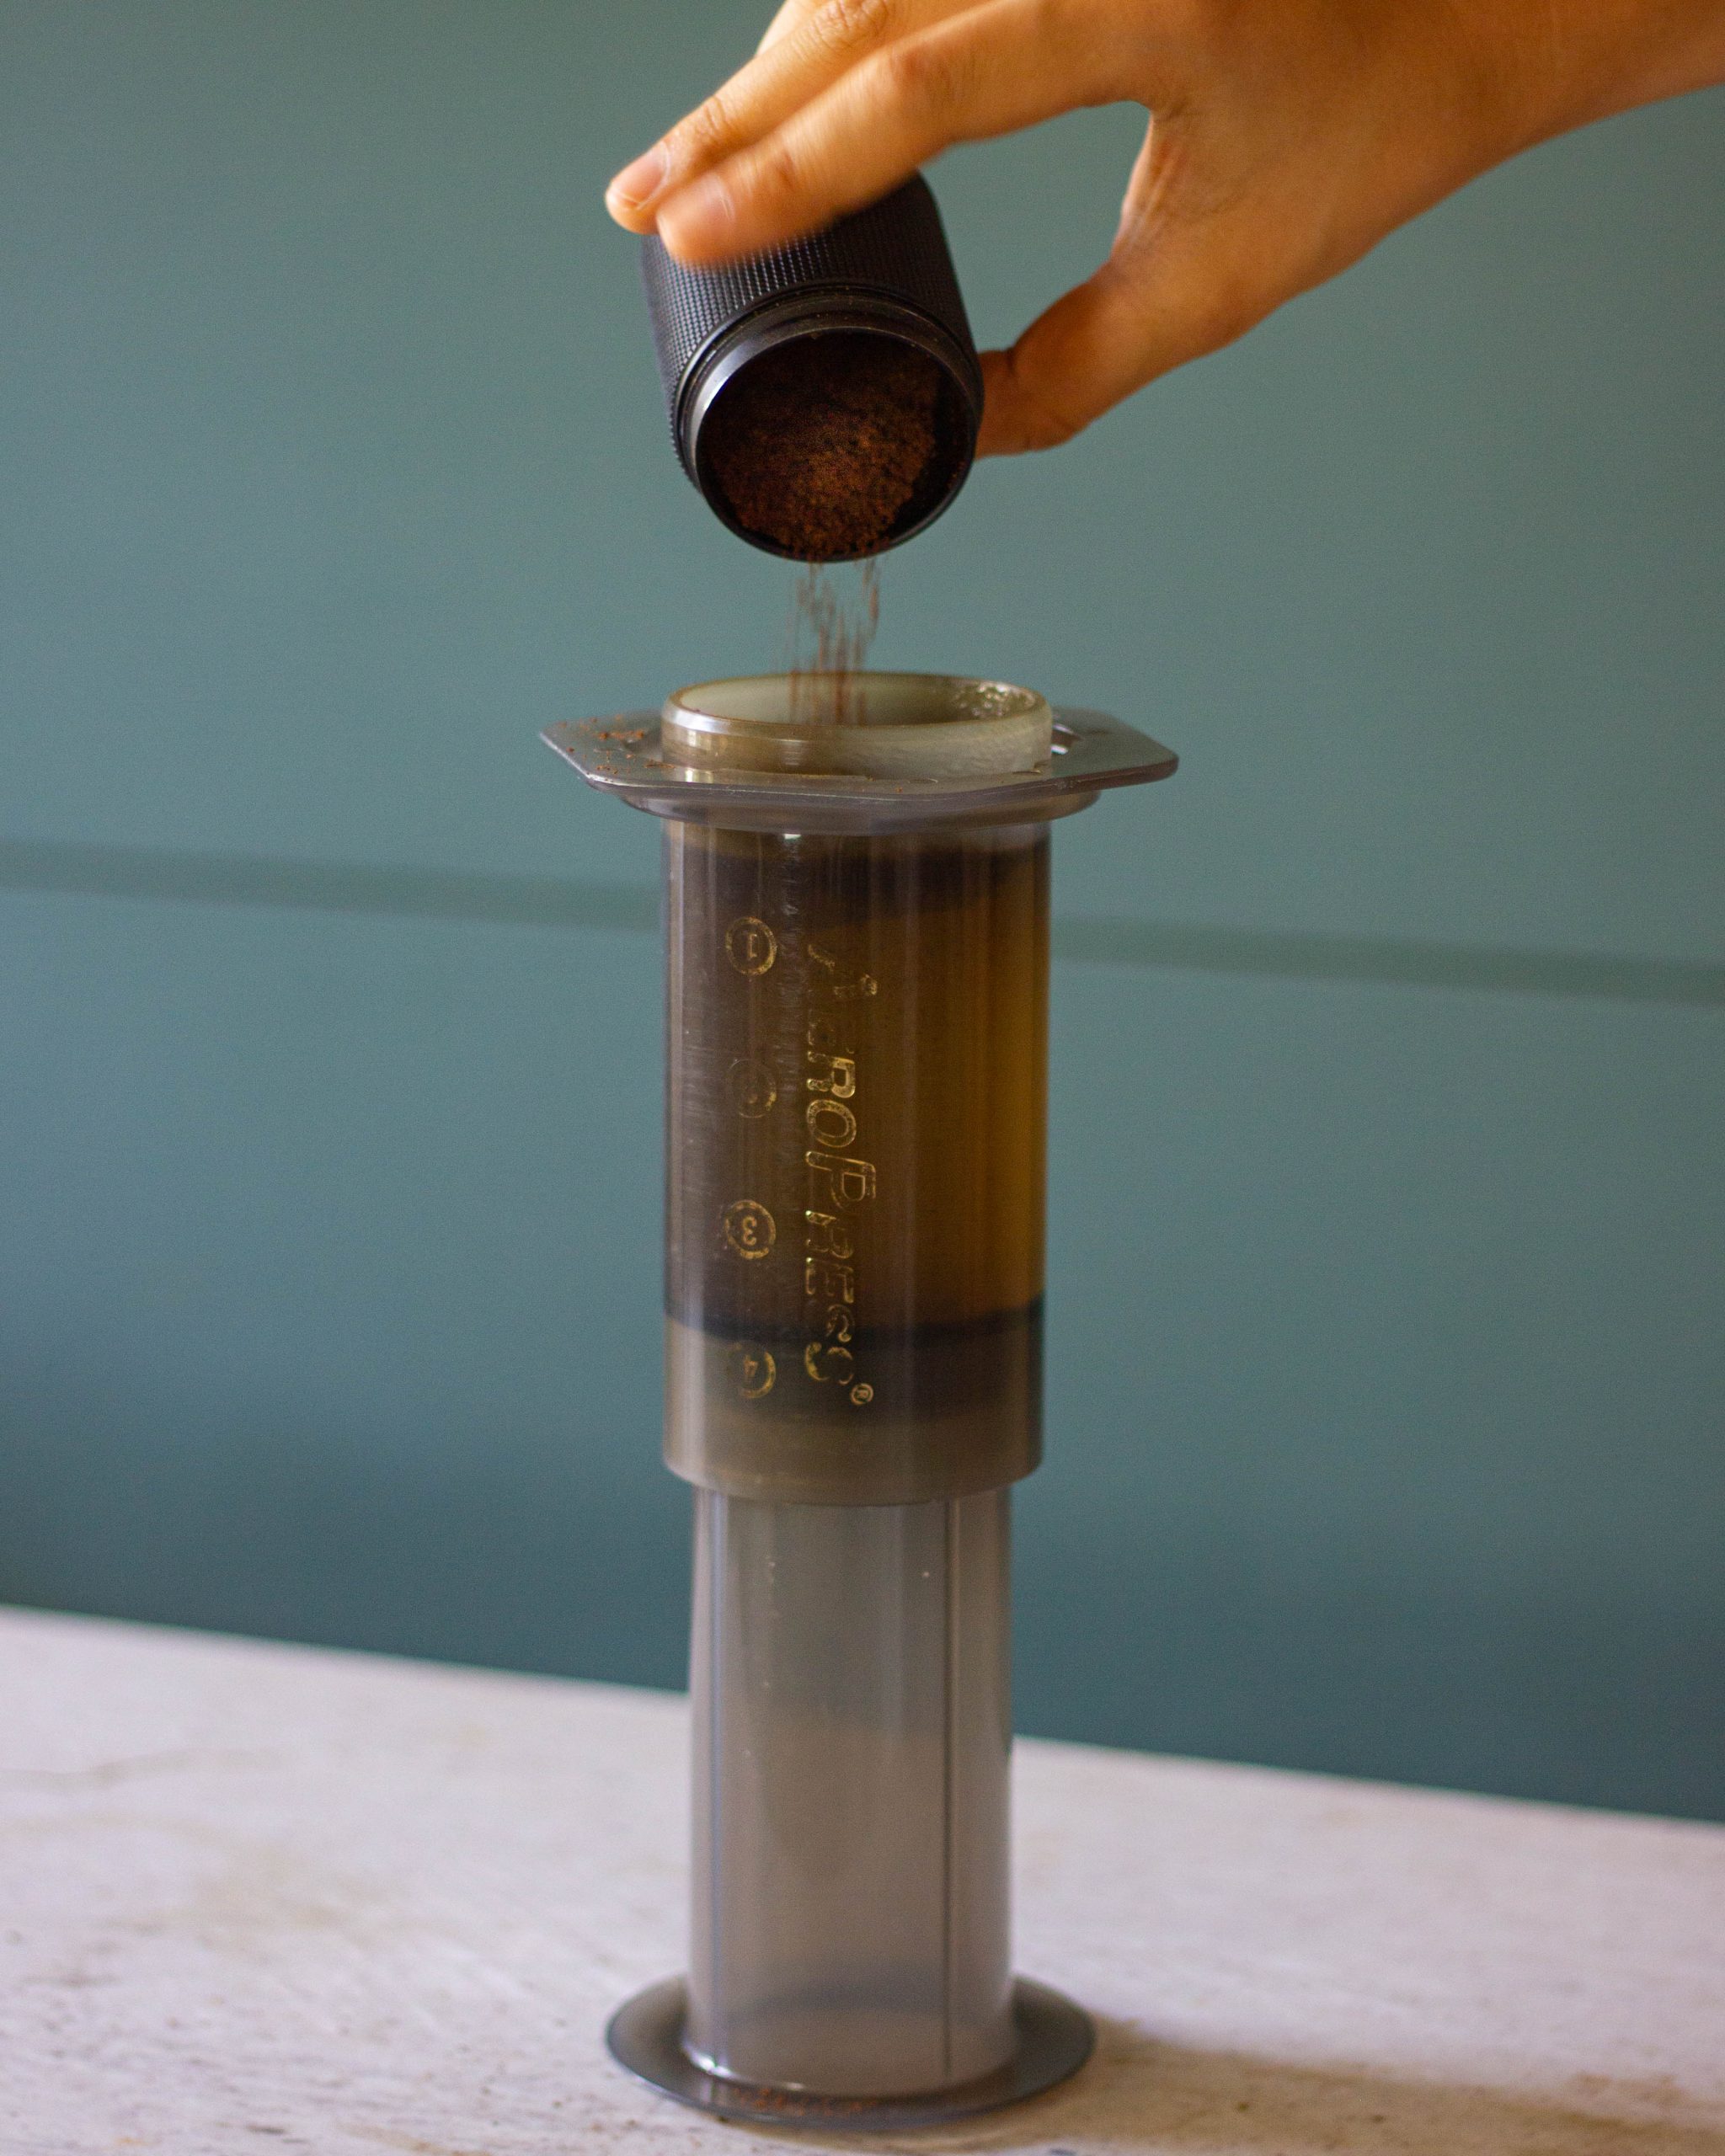
Assemble the Aeropress by attaching the plunger in the Aeropress body (till the number 4 mark). Keep on a flat surface such that the brew chamber is on the top.
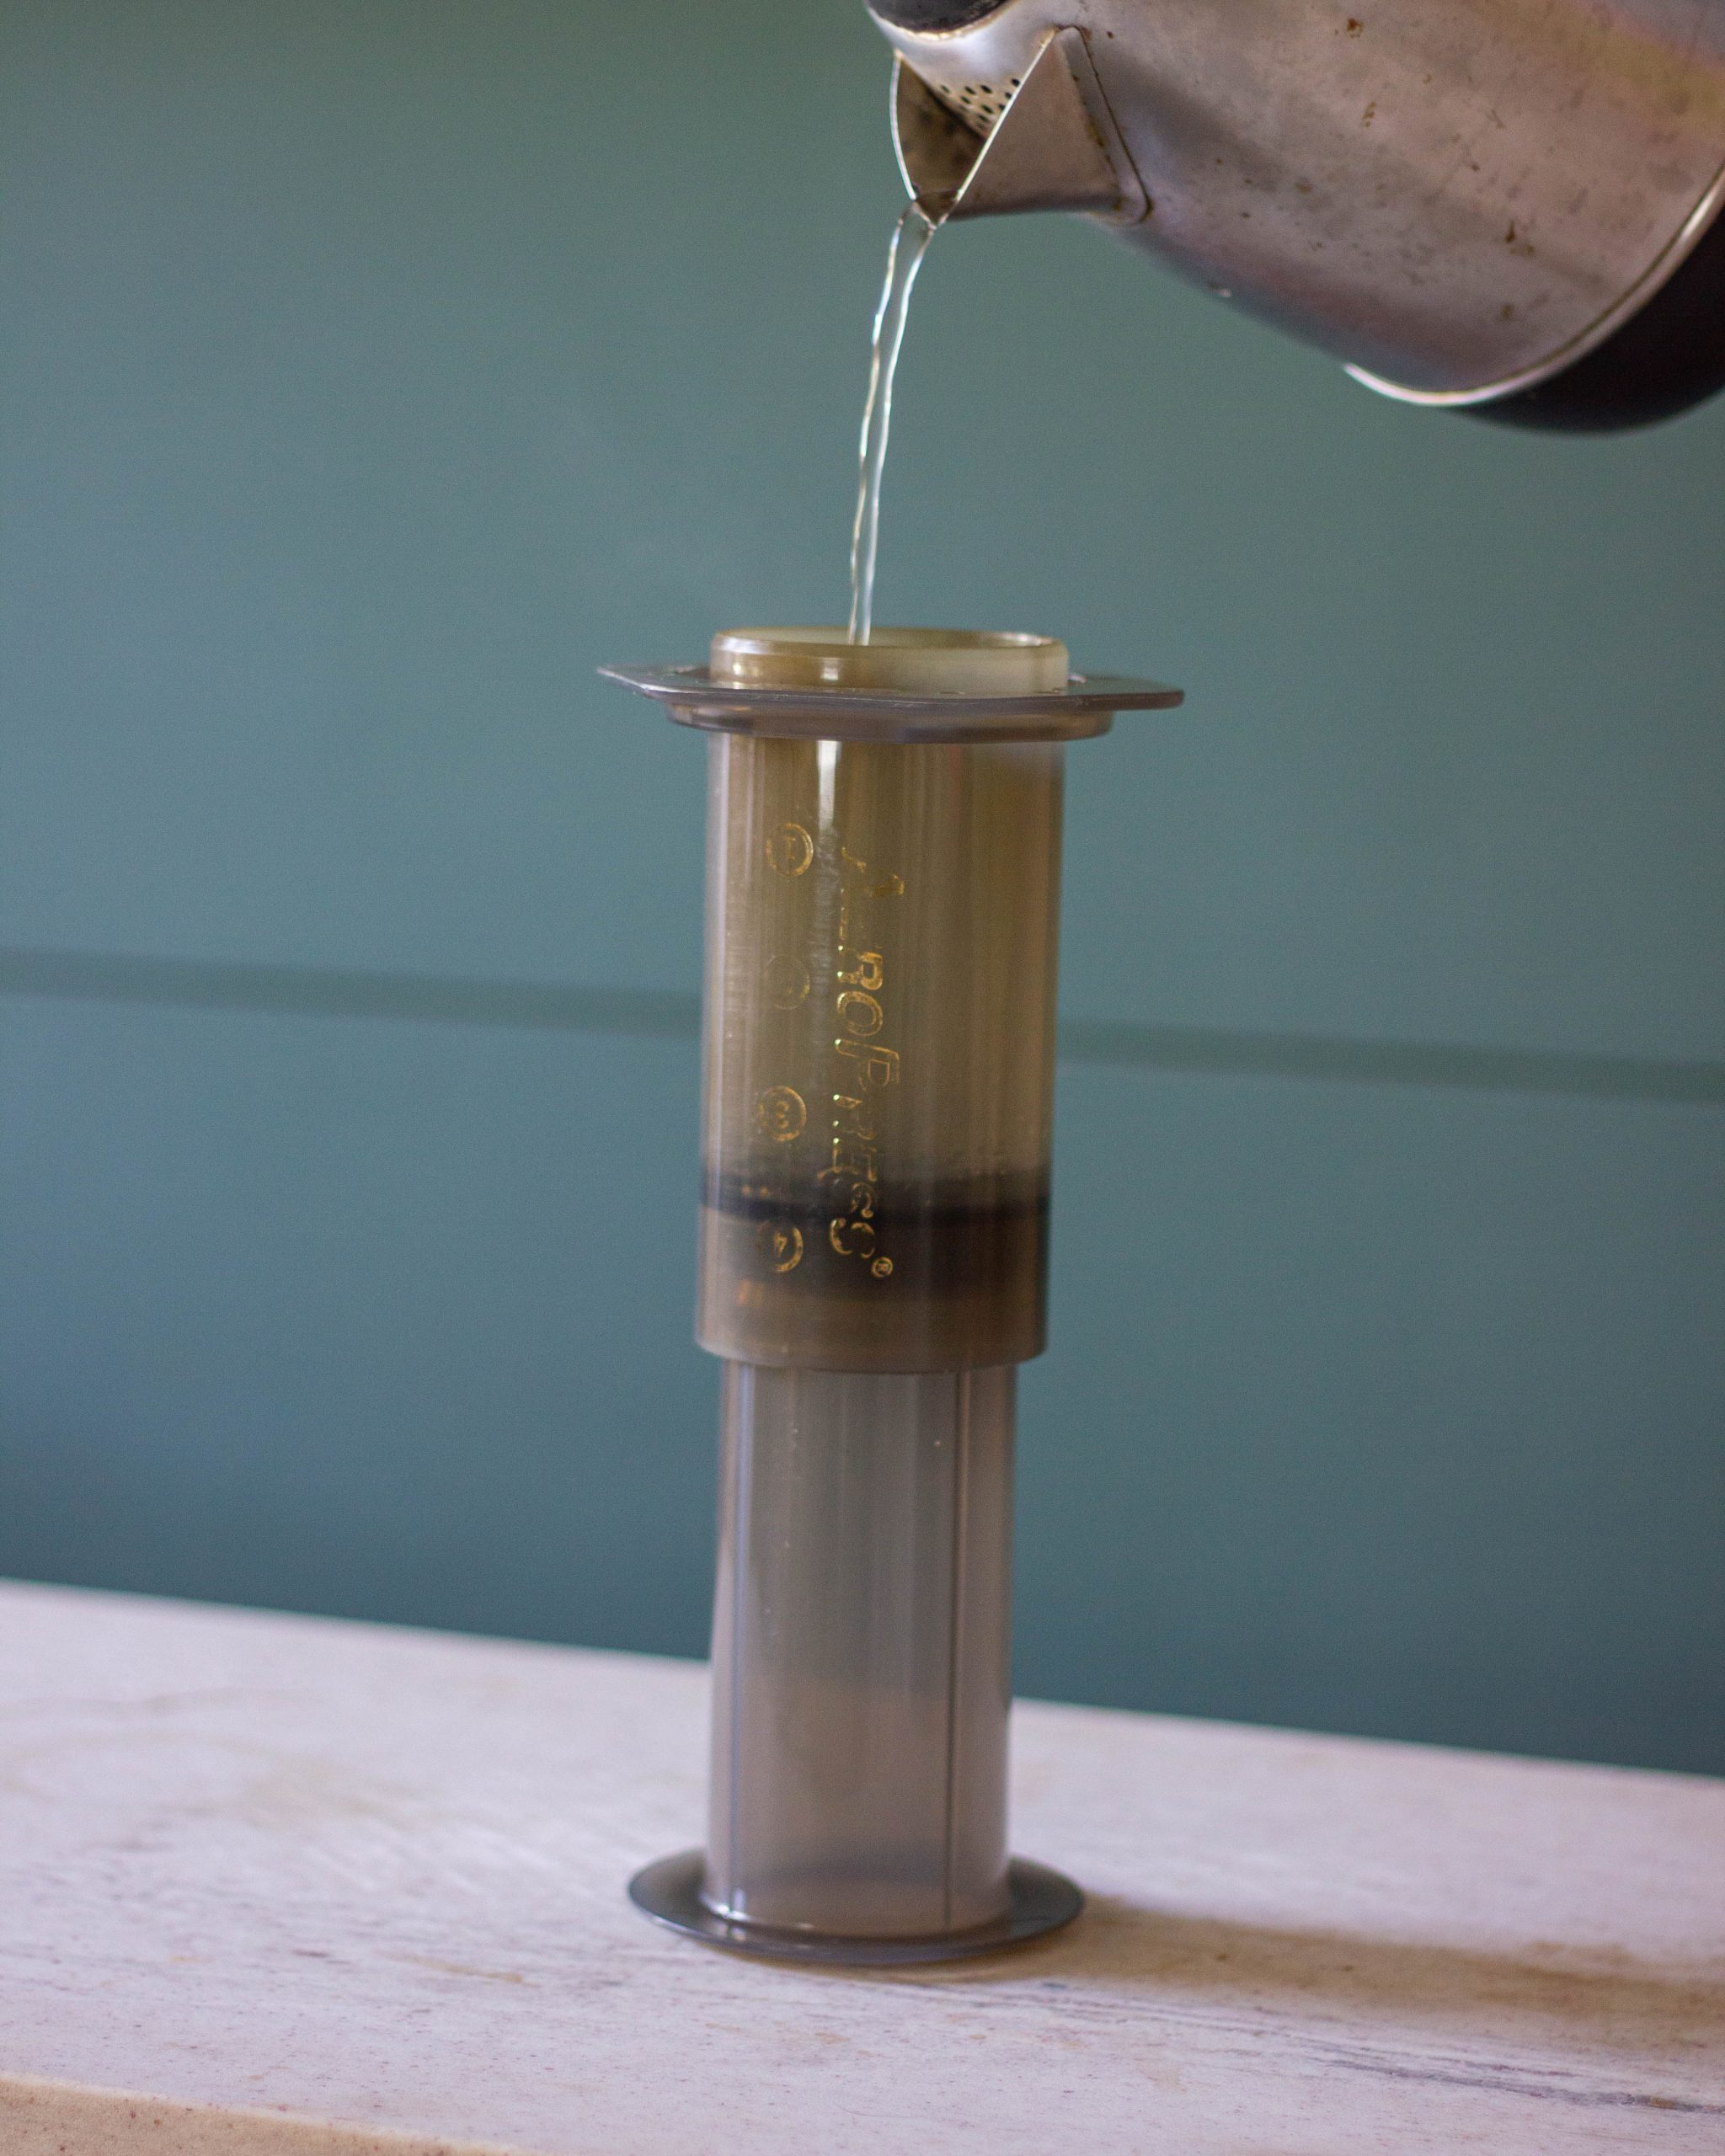
Pour 200ml of hot water (till the number 1 mark) and add the measured 17gms of coffee grounds to it.
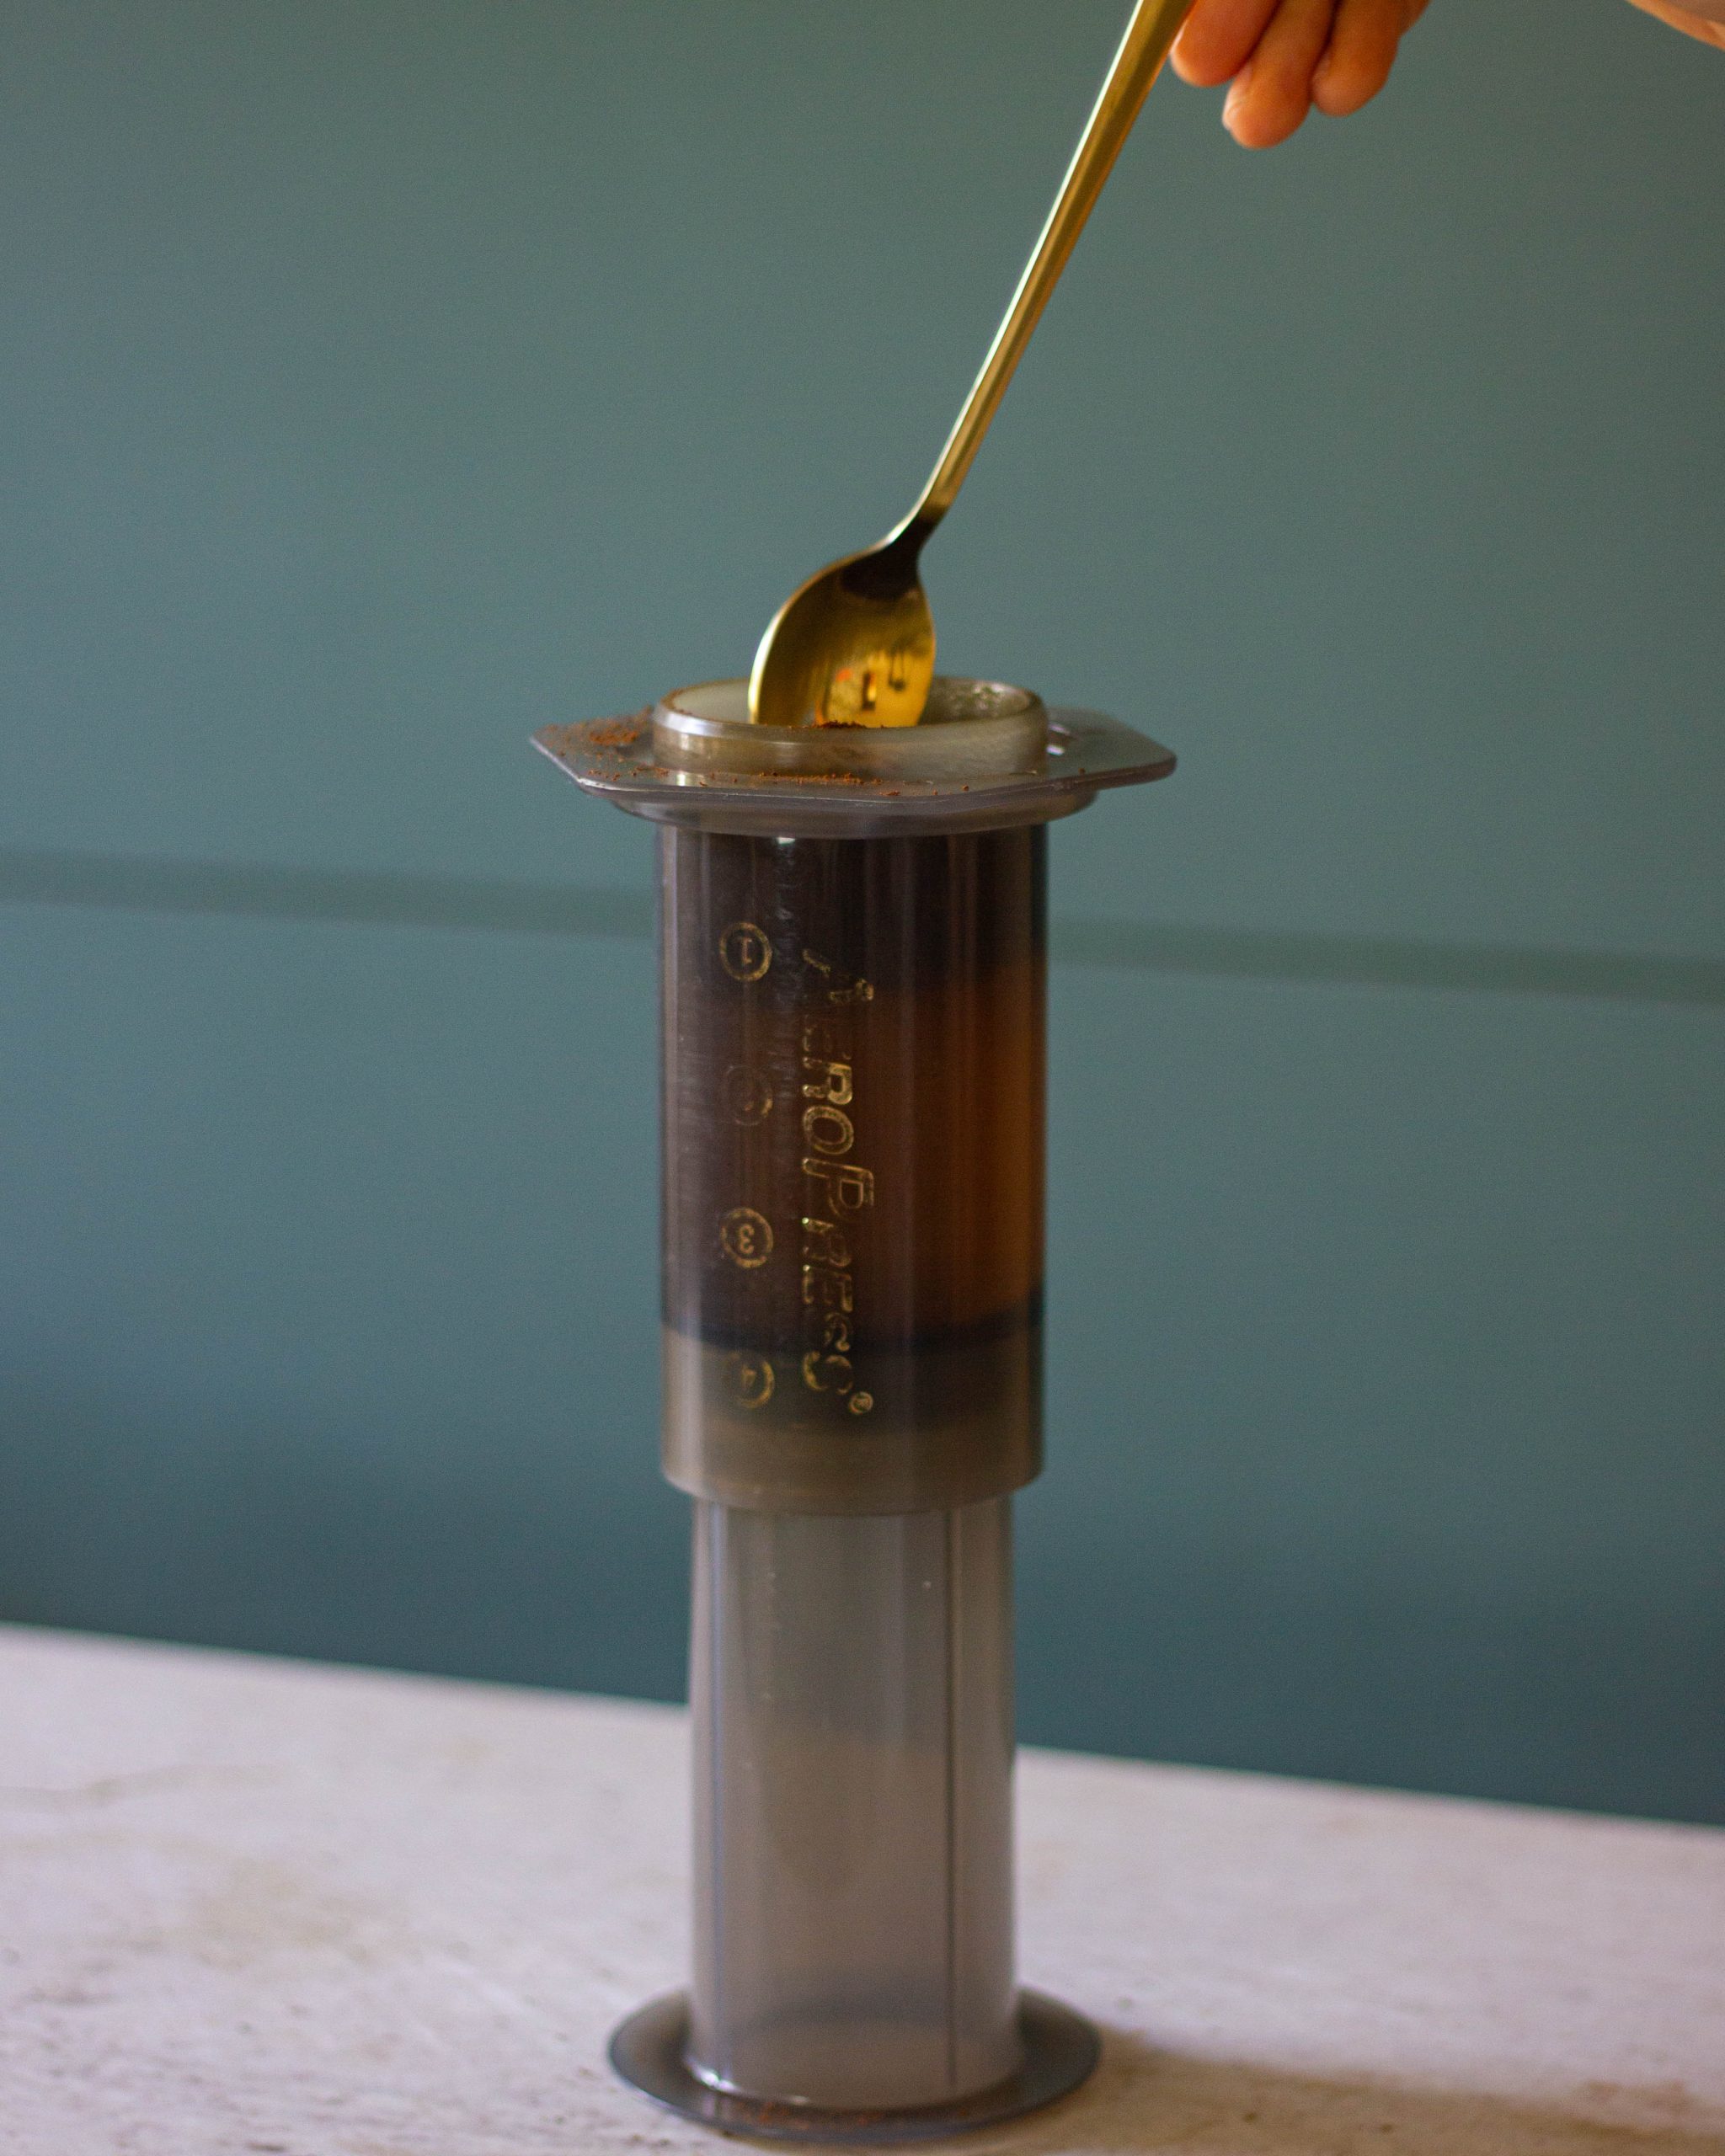
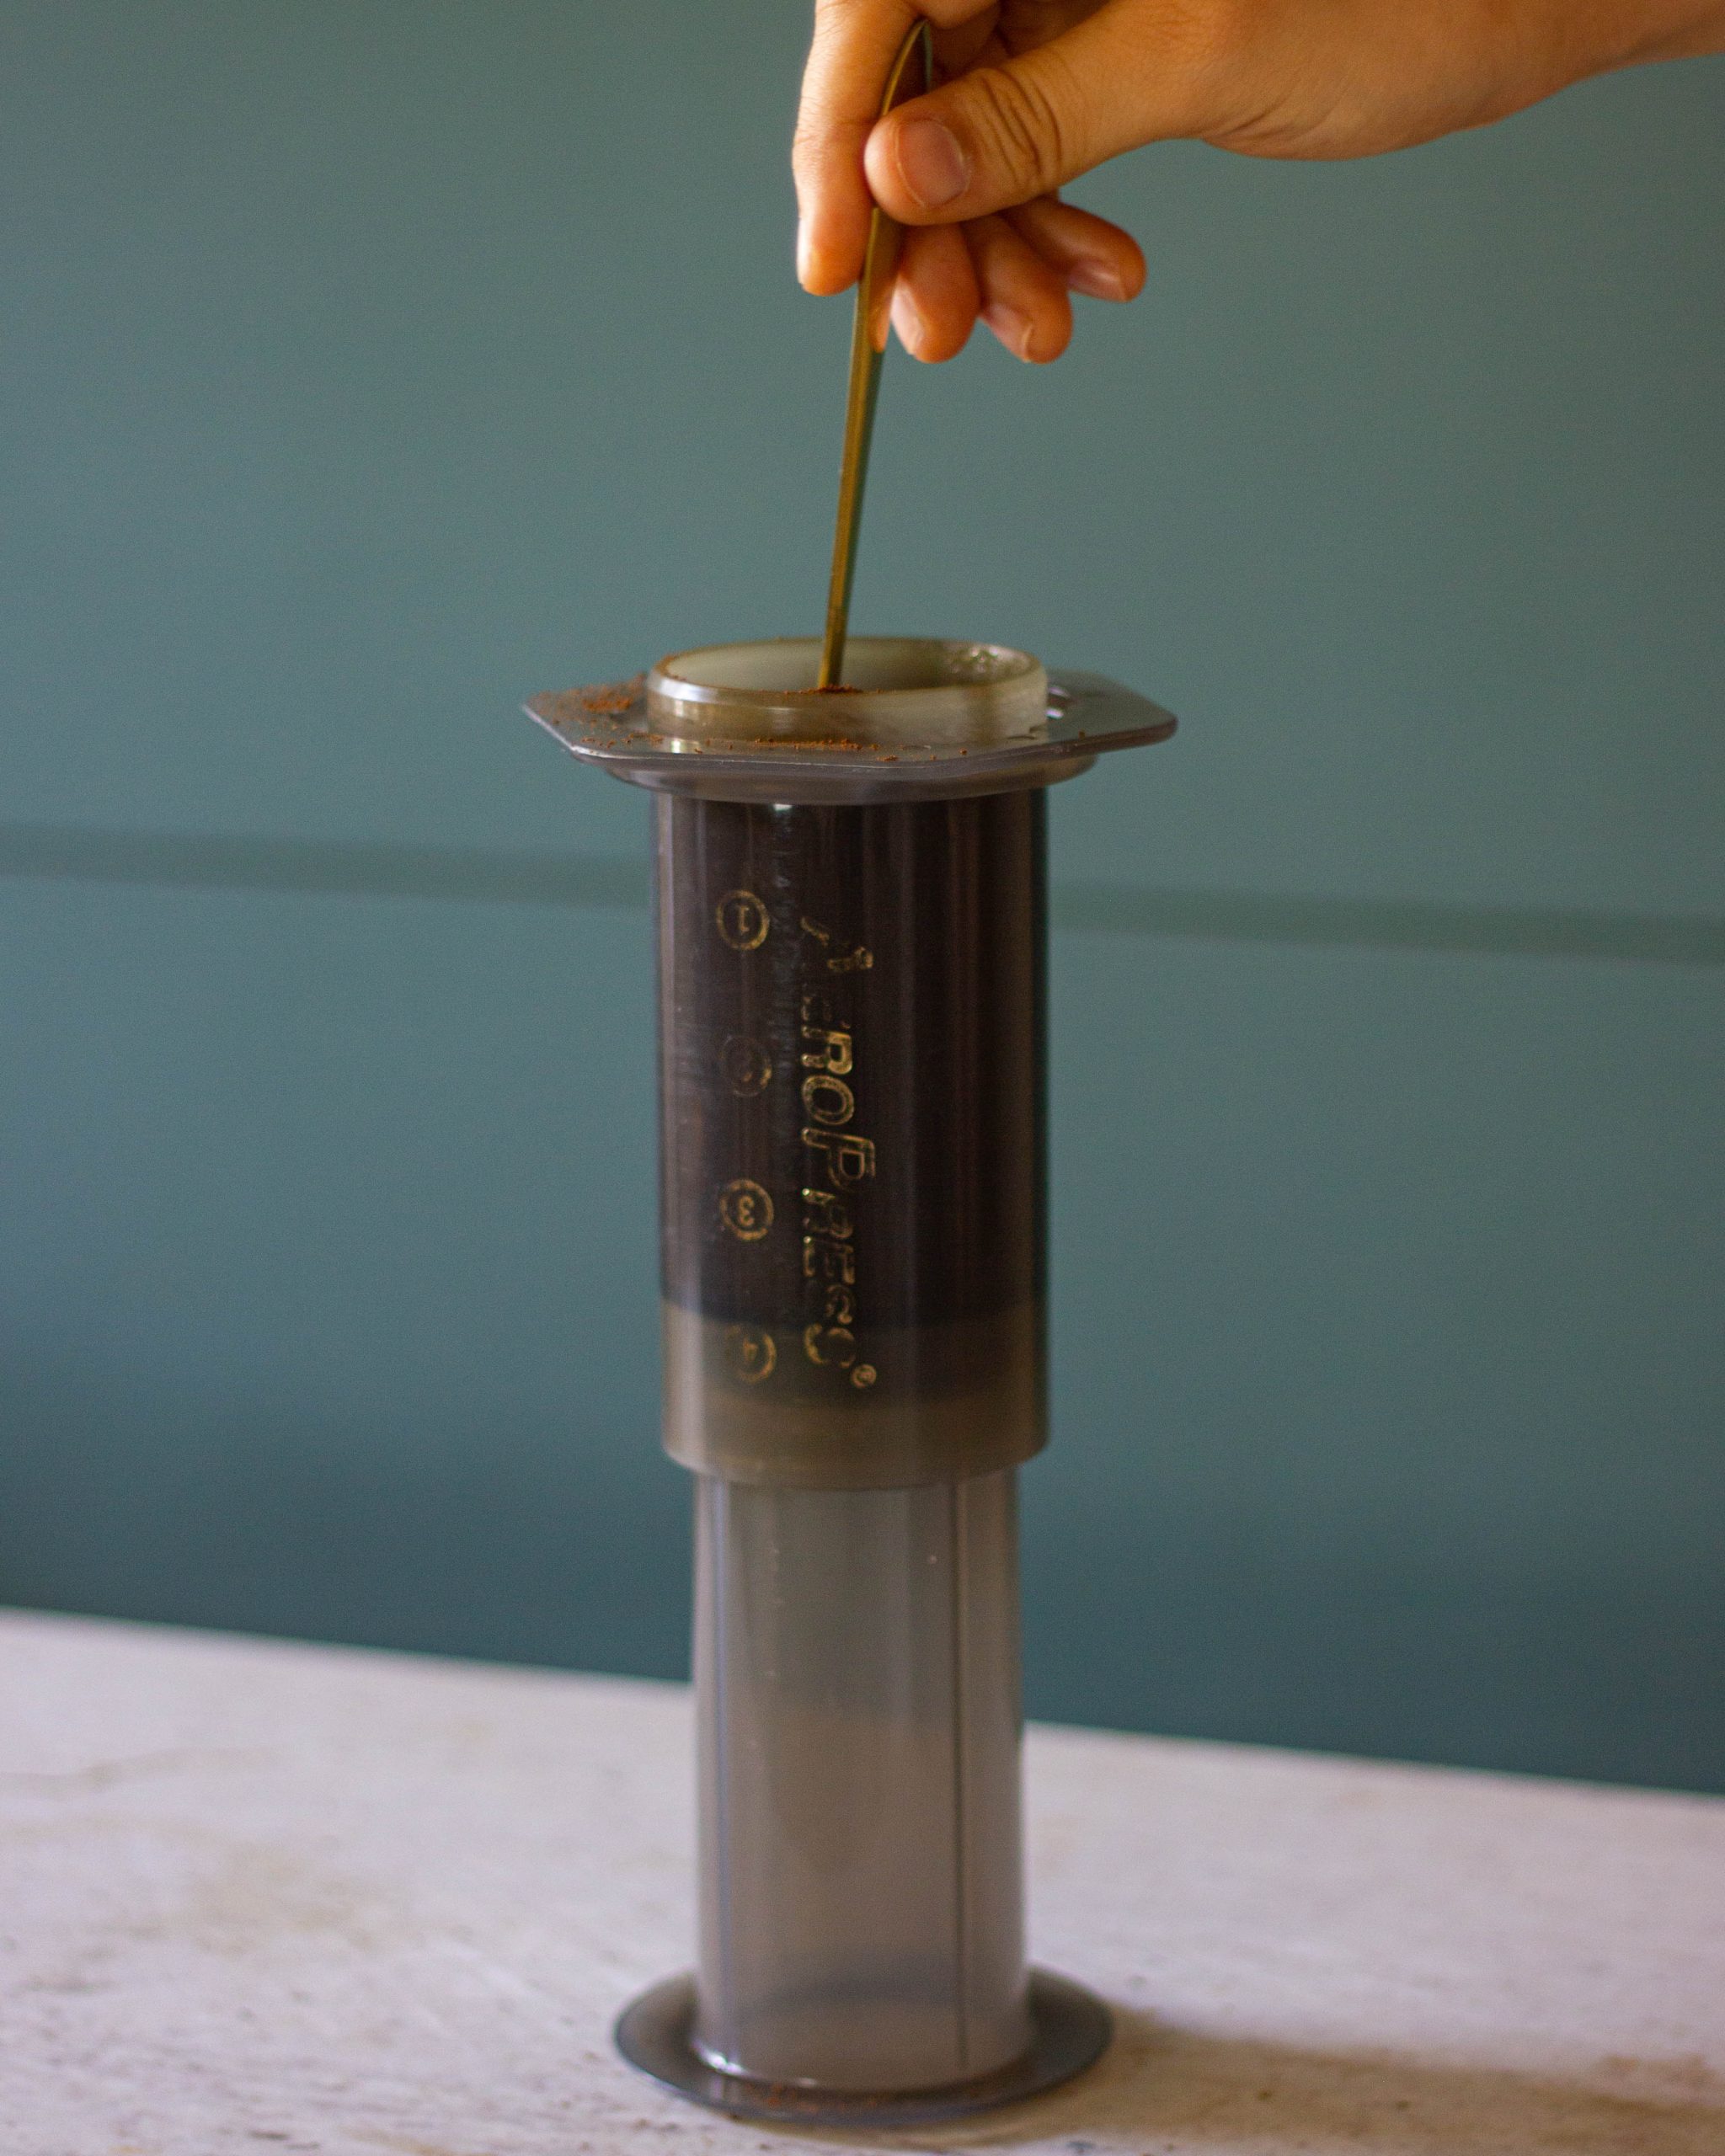
Stir and let it brew for 3 minutes.
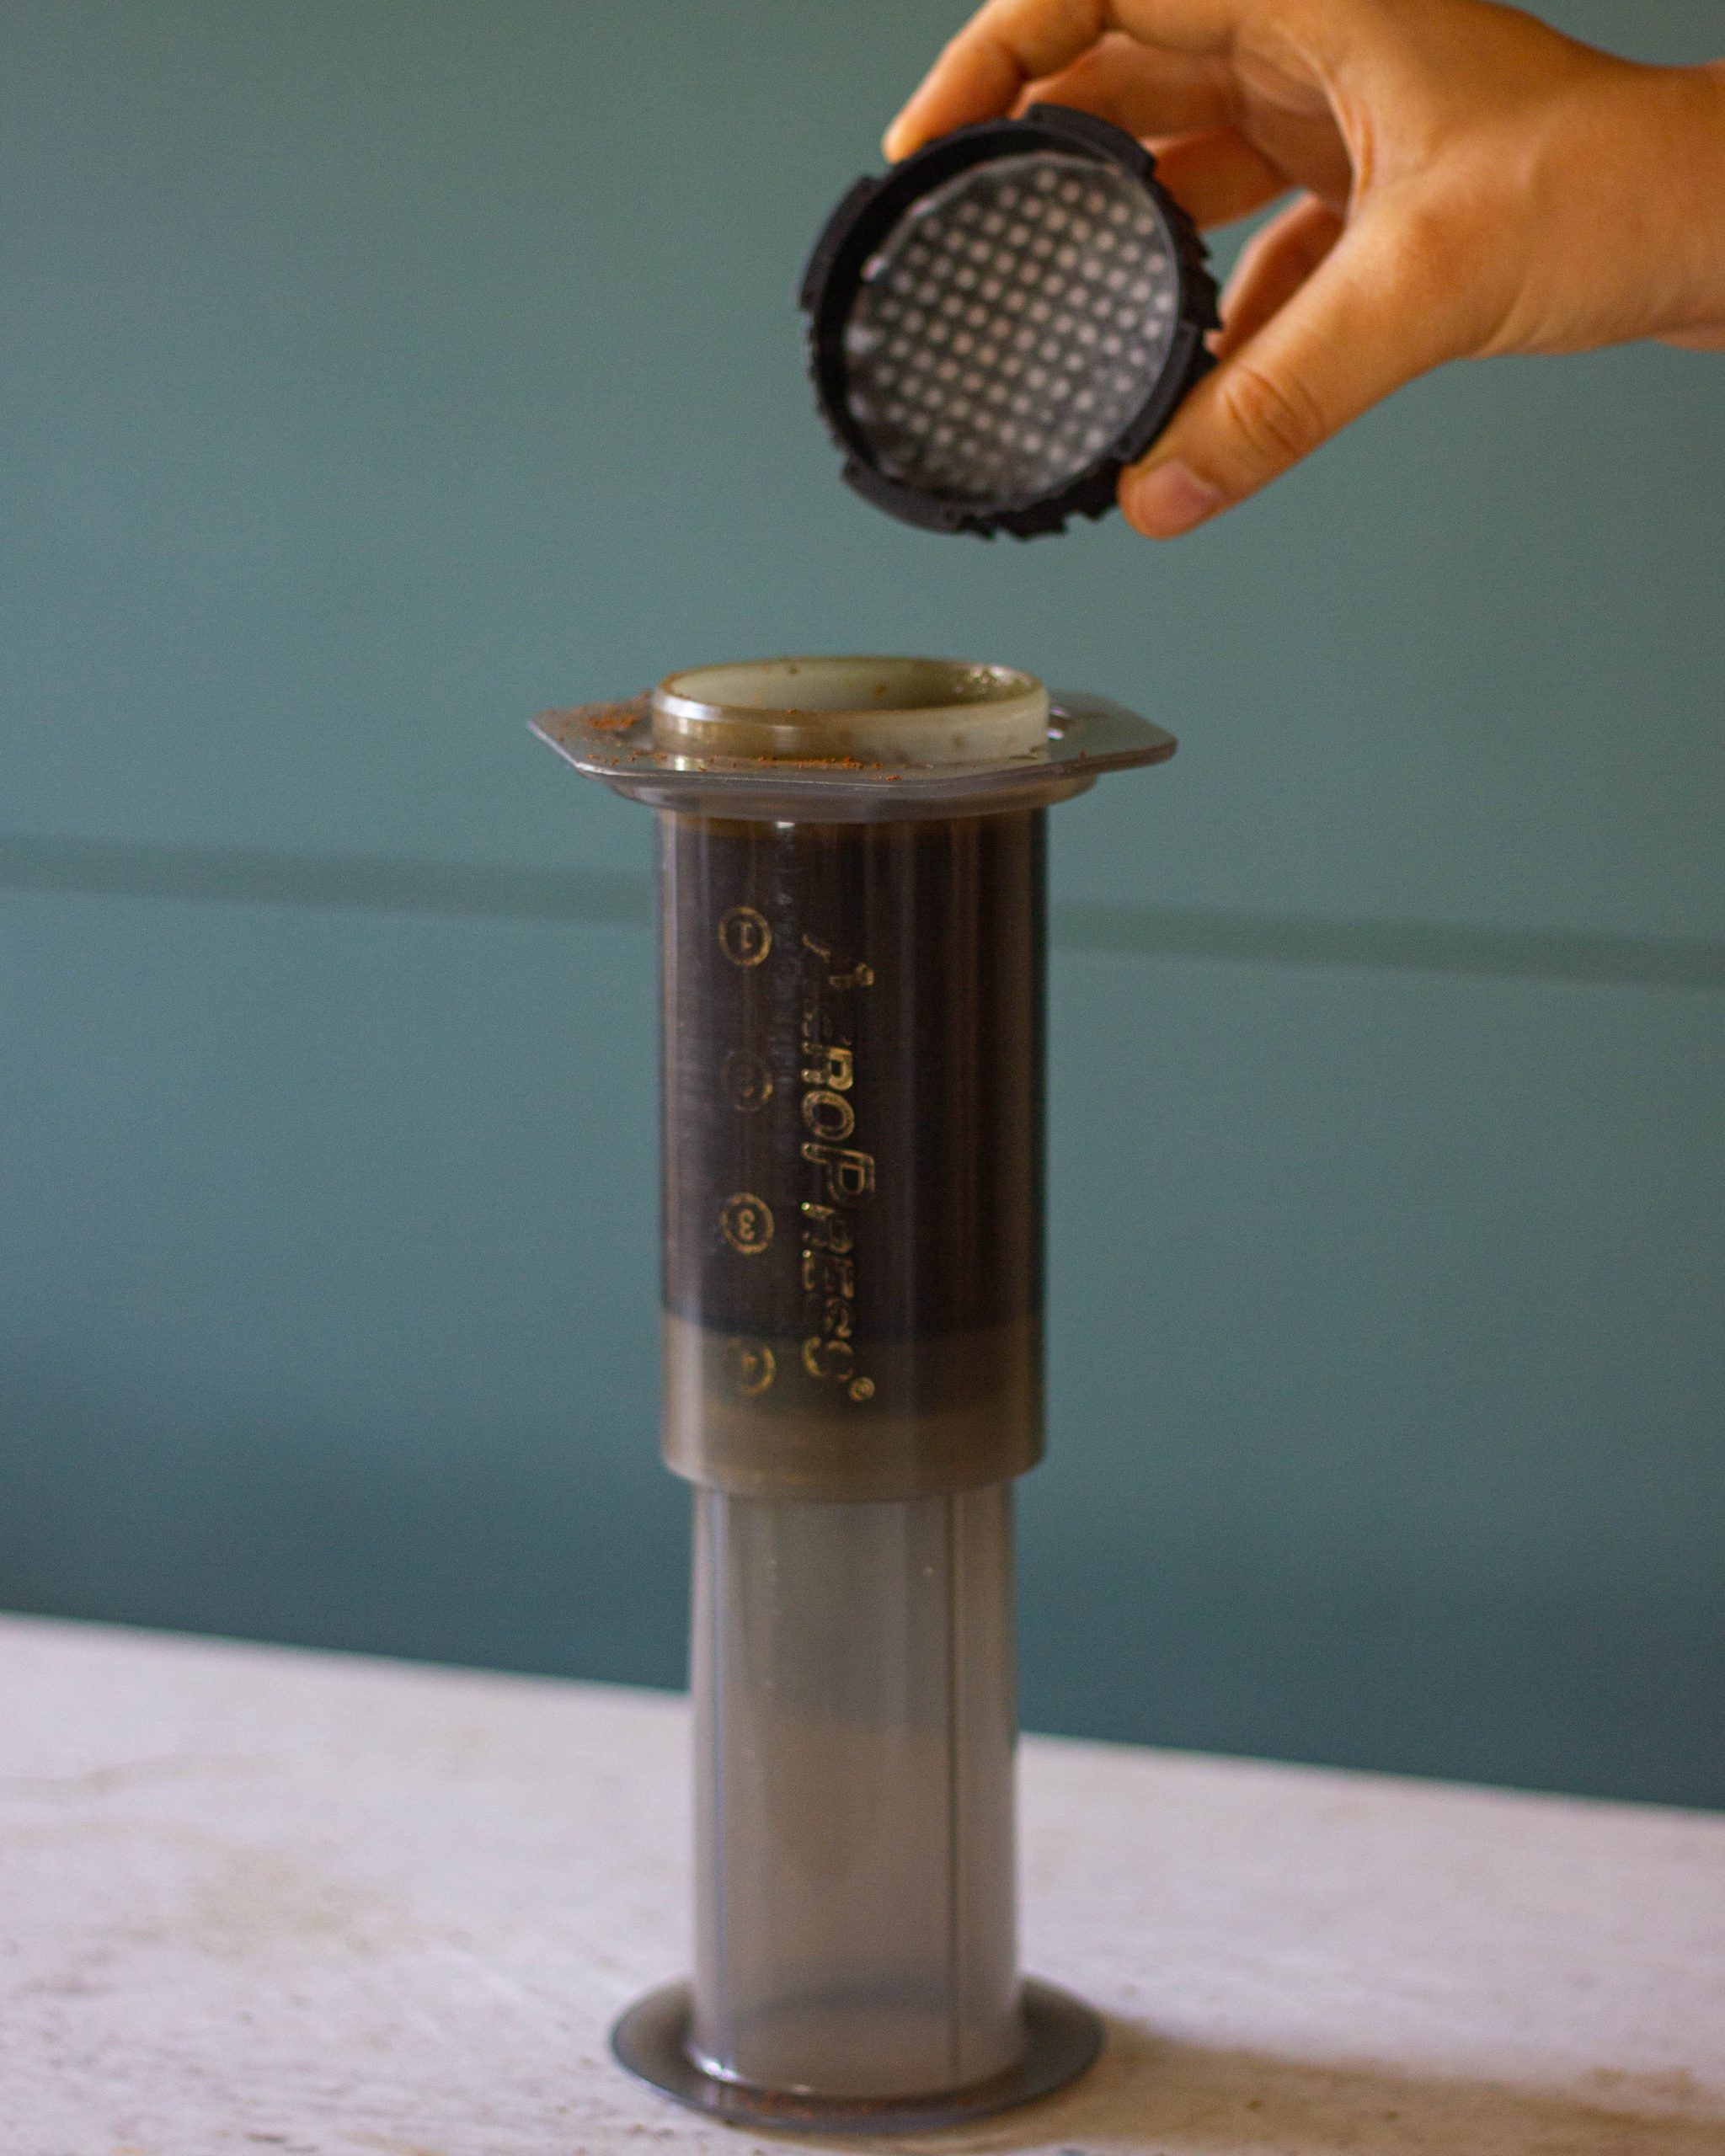
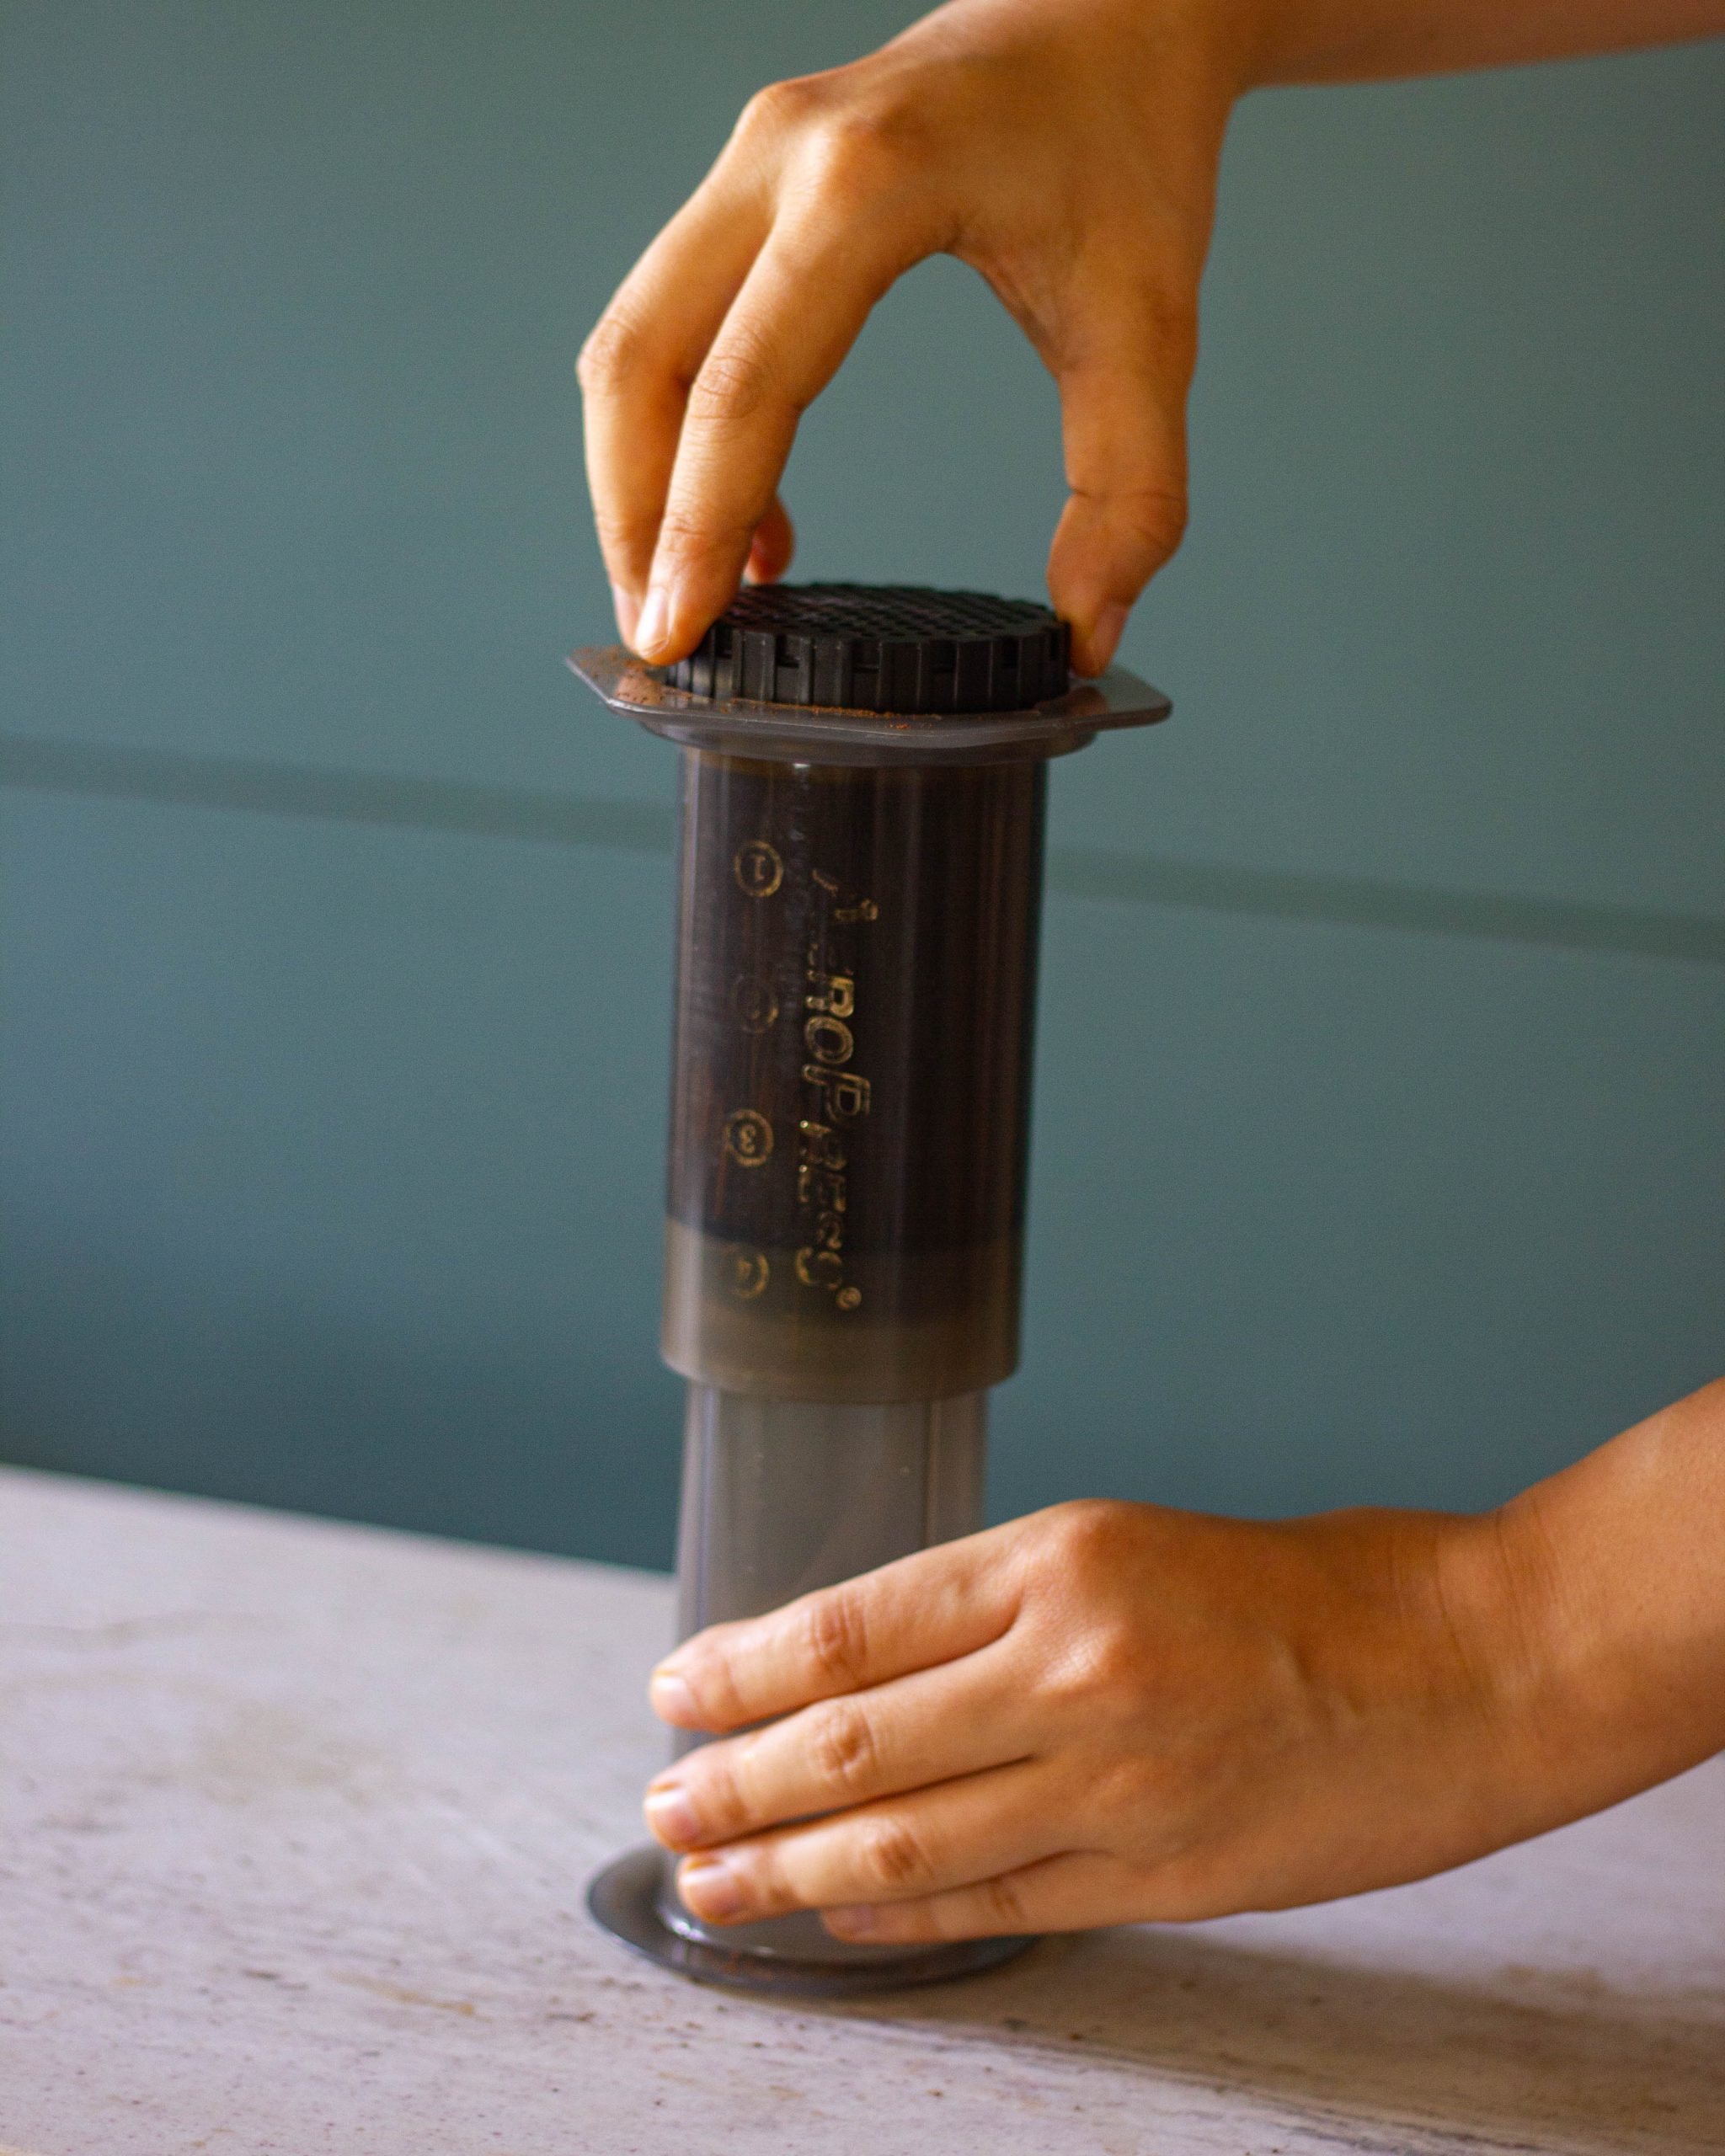
Screw the lid (attached with a paper filter).
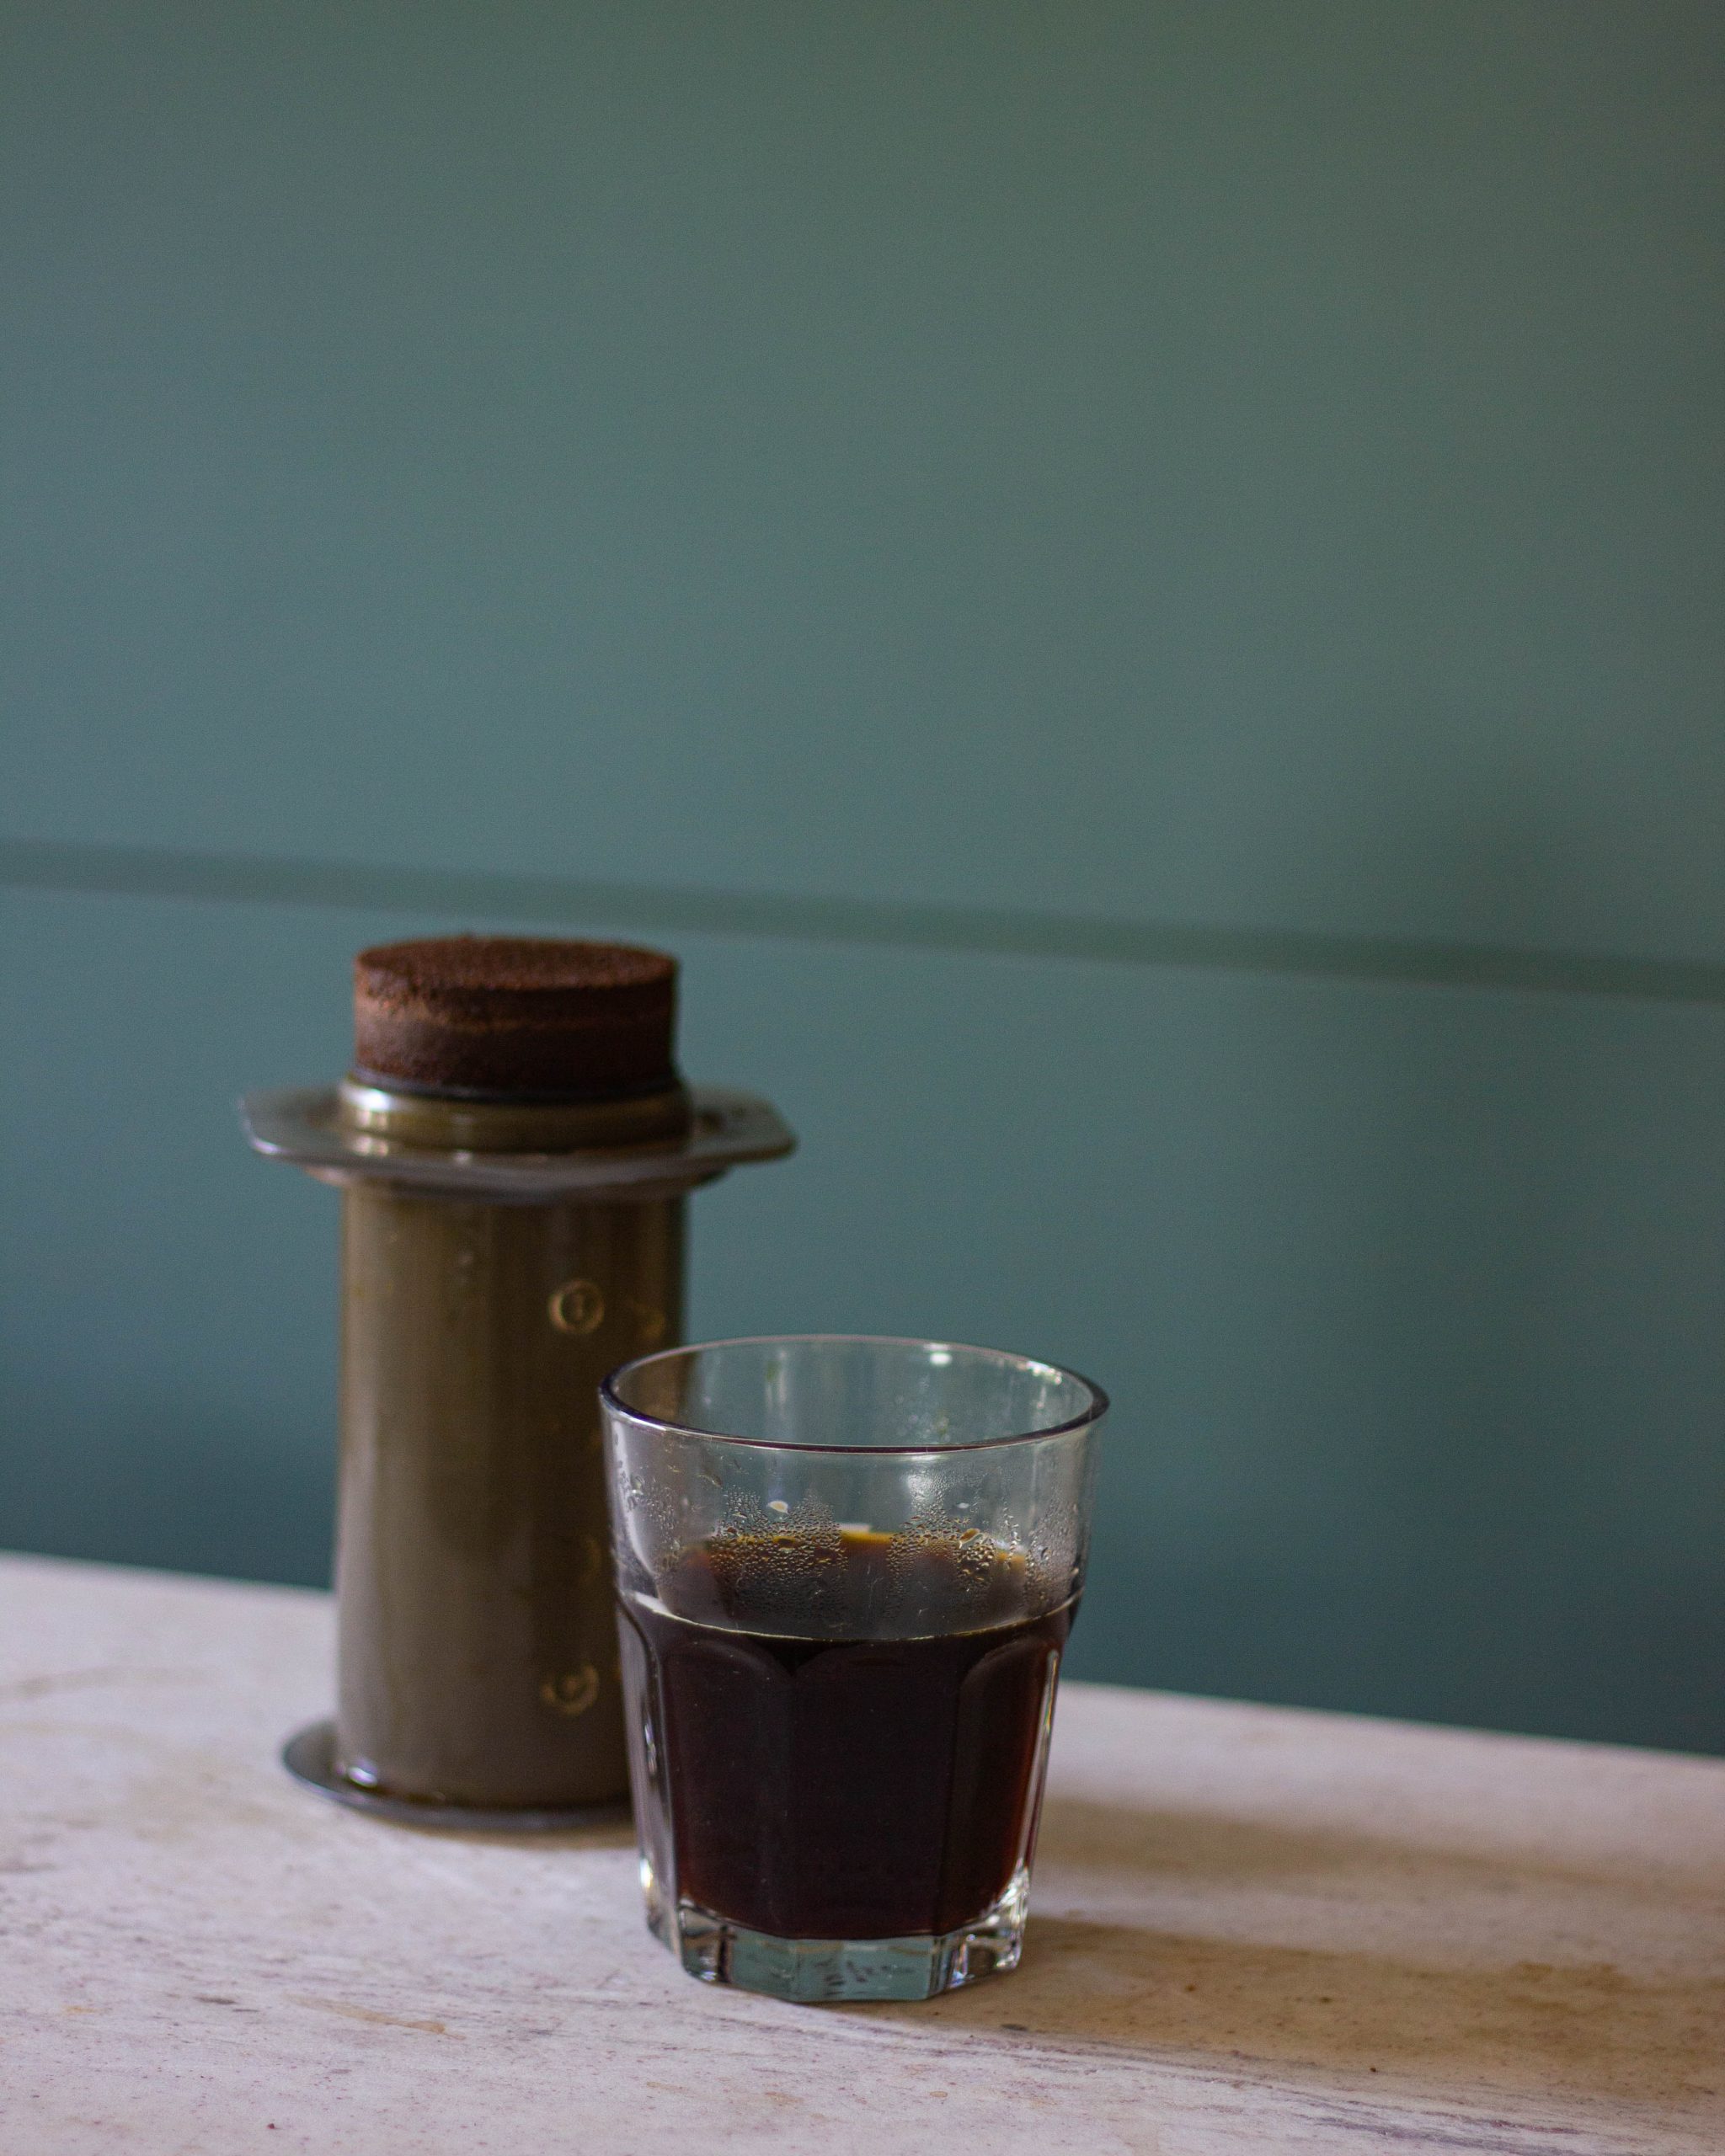
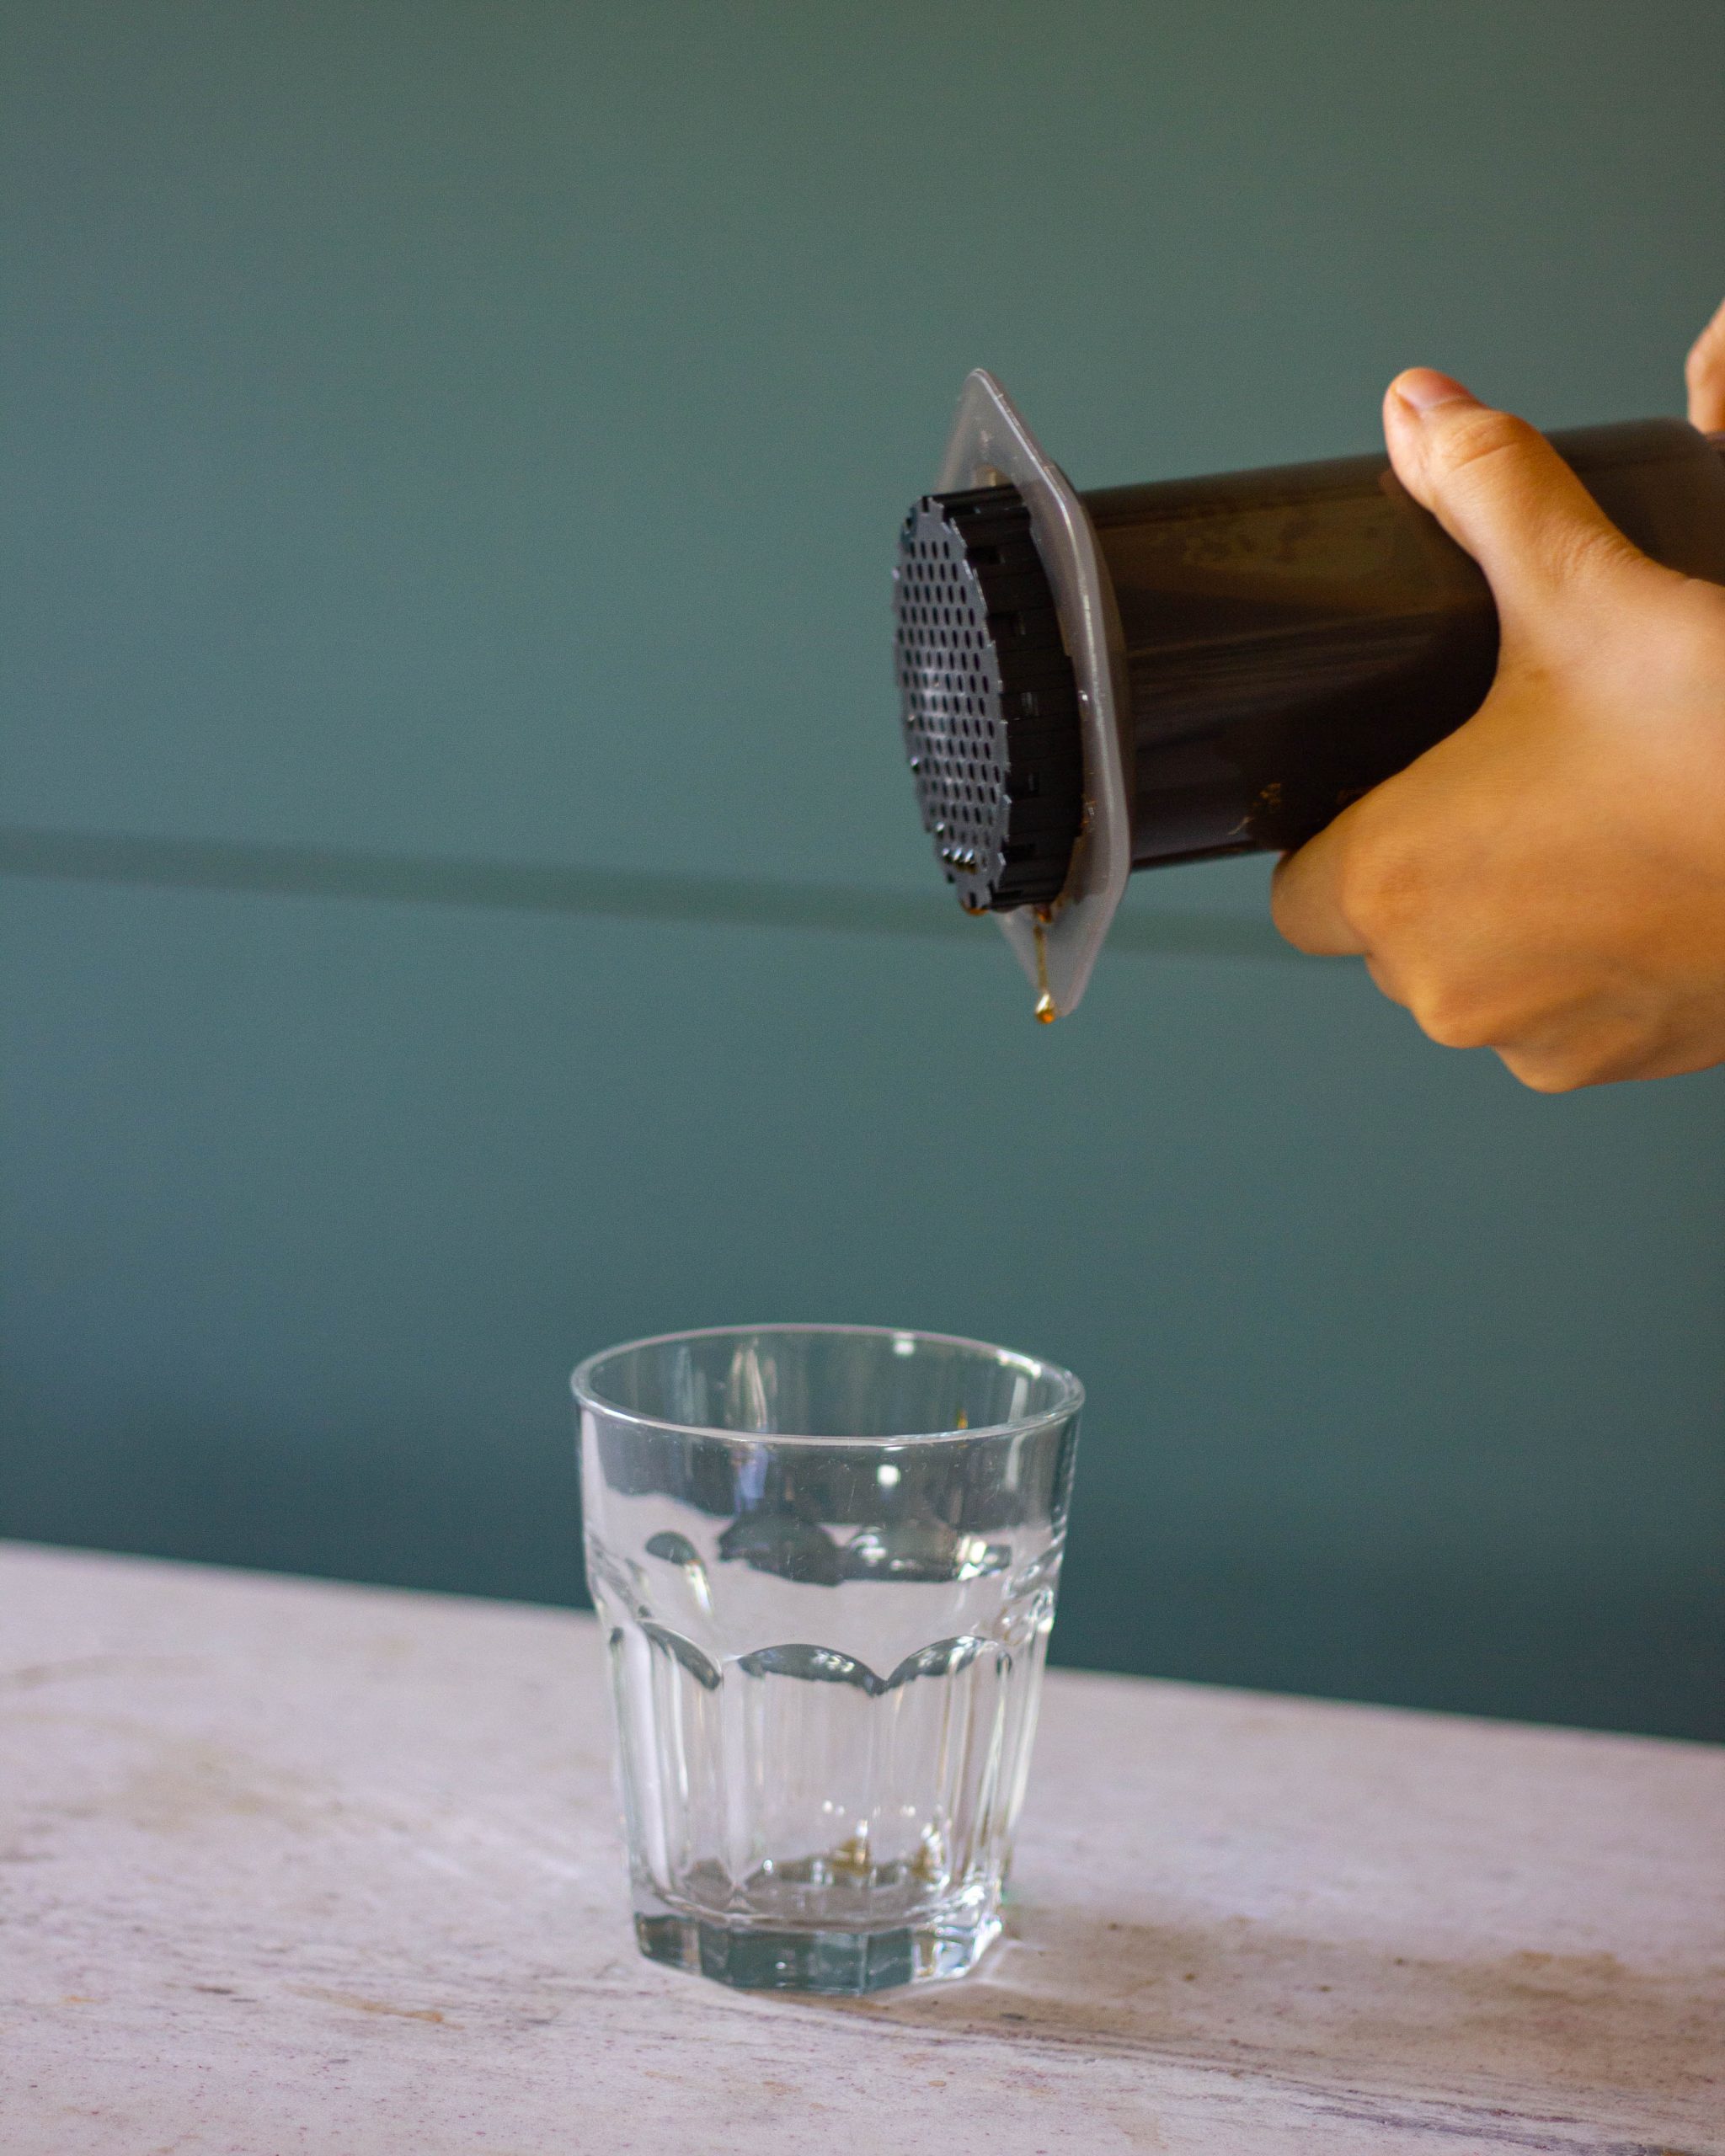
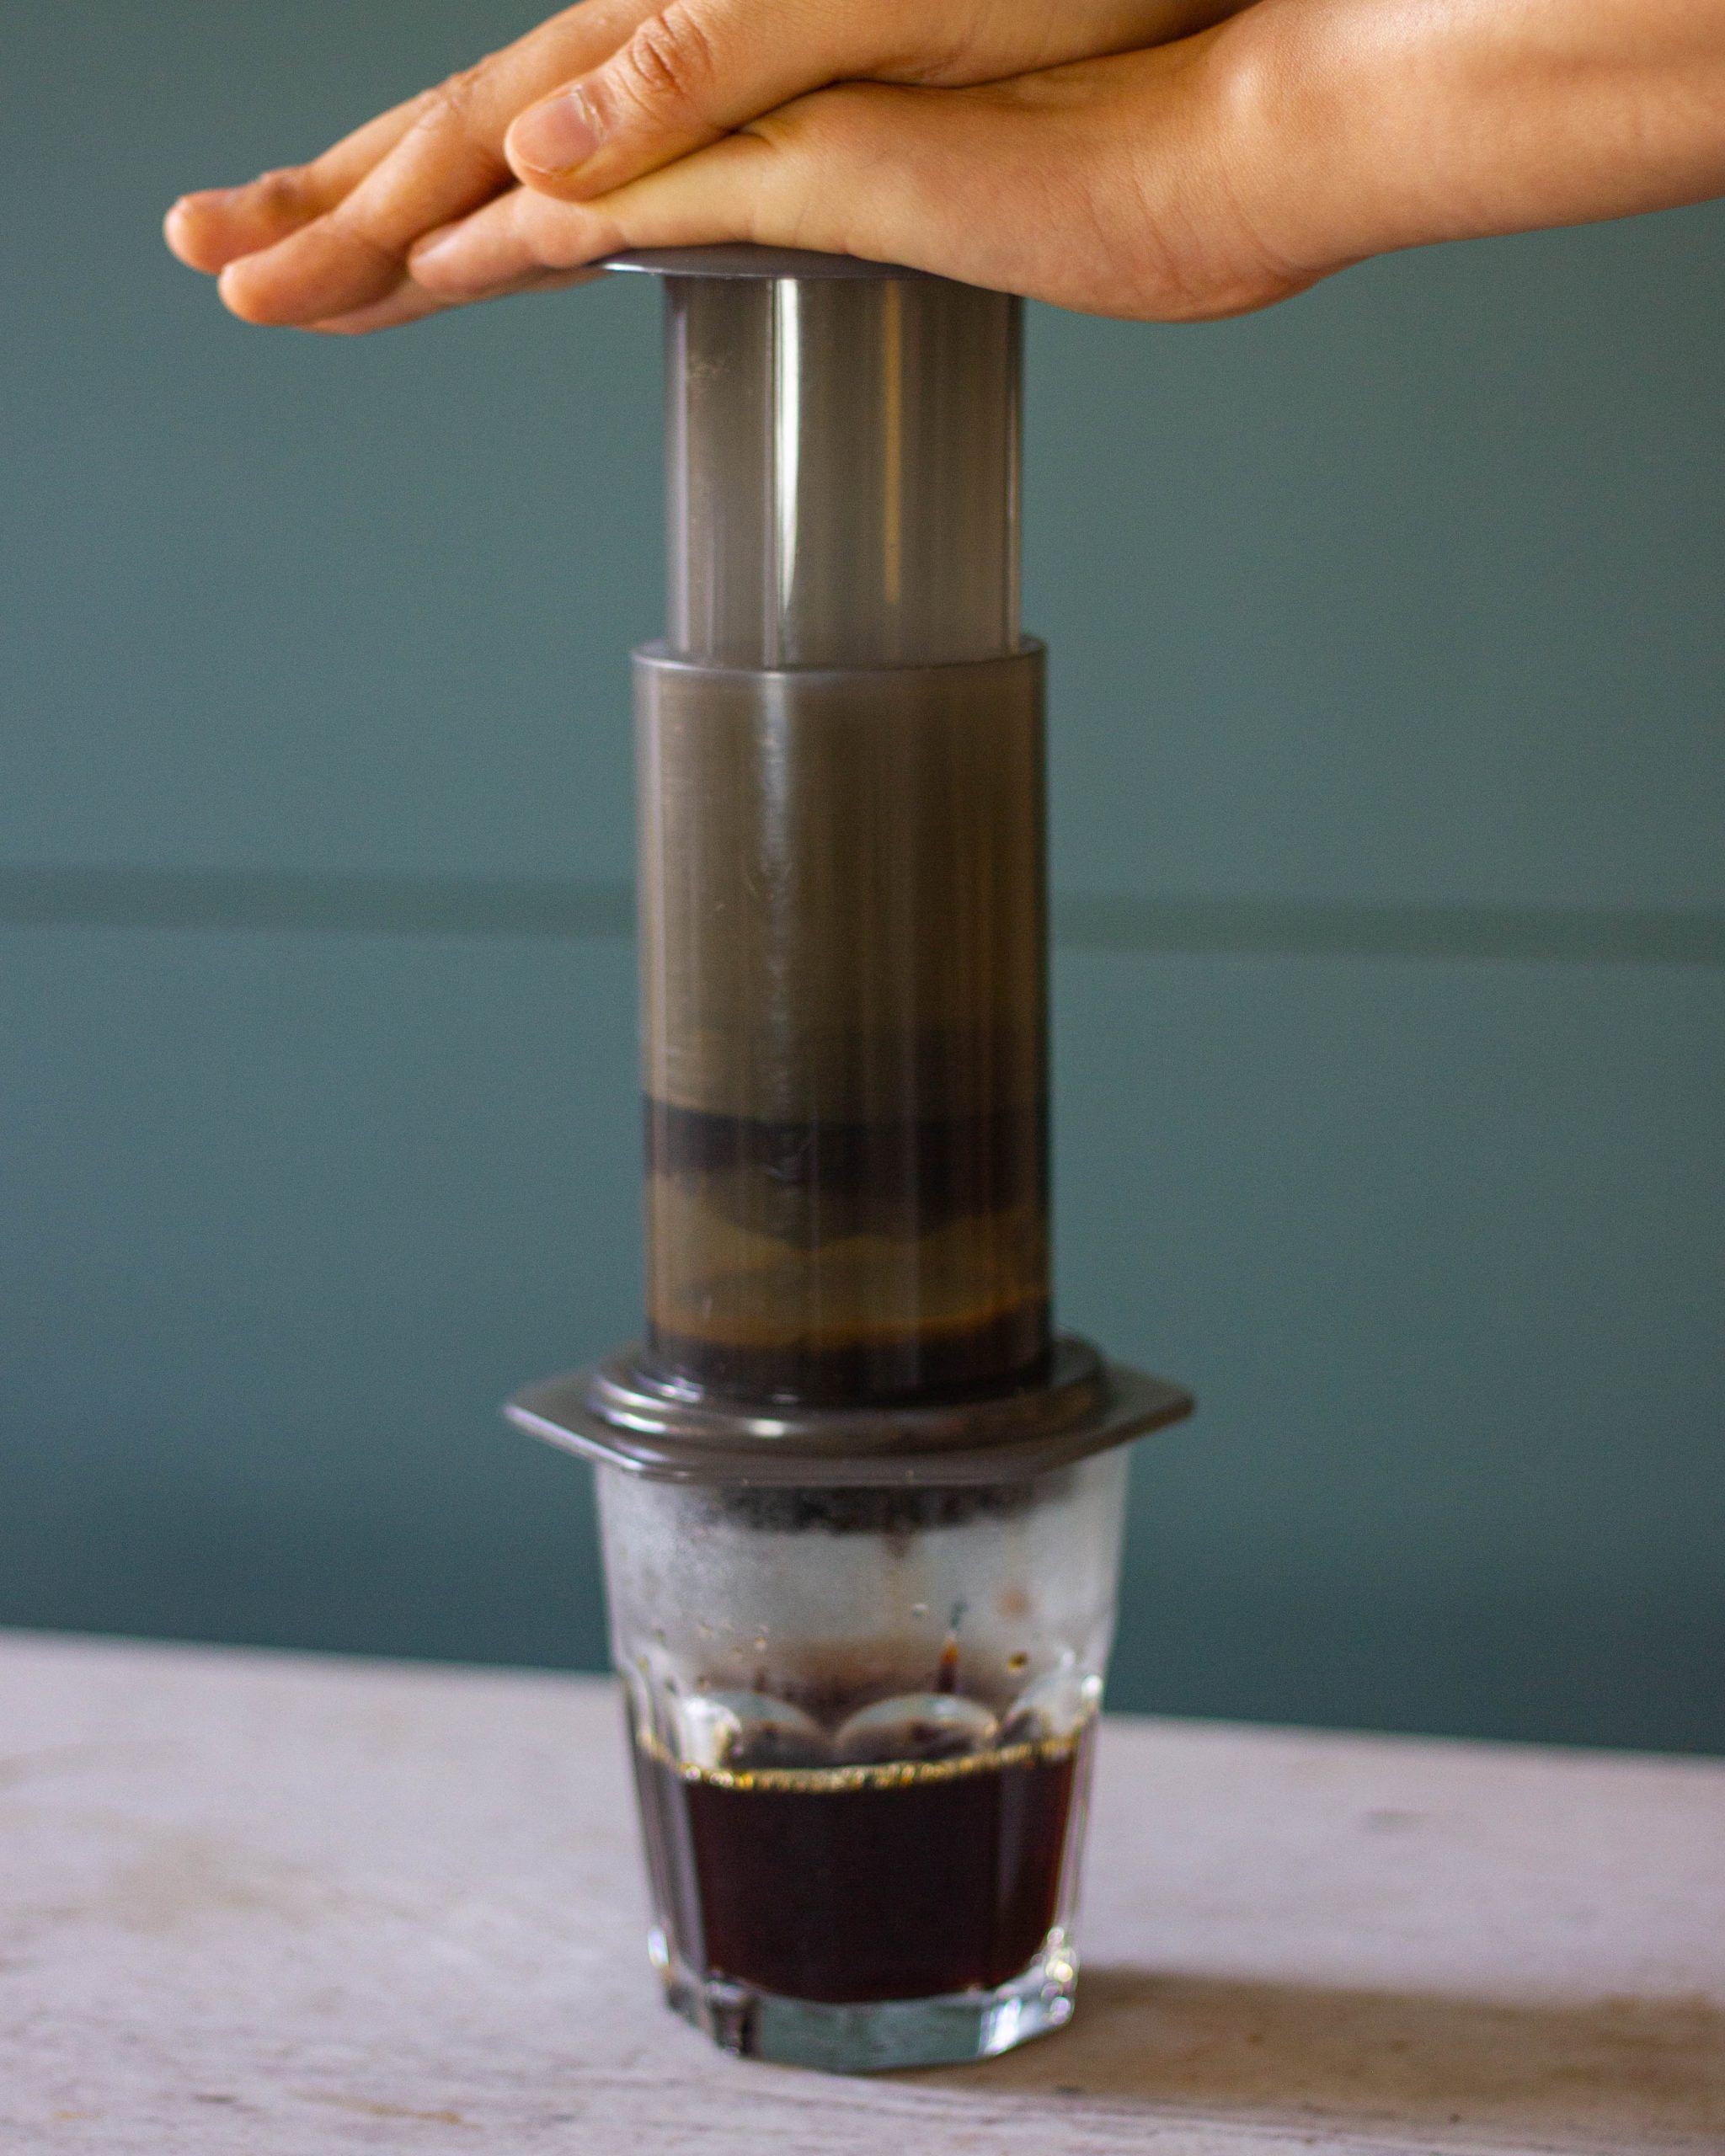
Then, carefully invert the Aeropress onto your glass and push down the plunger.
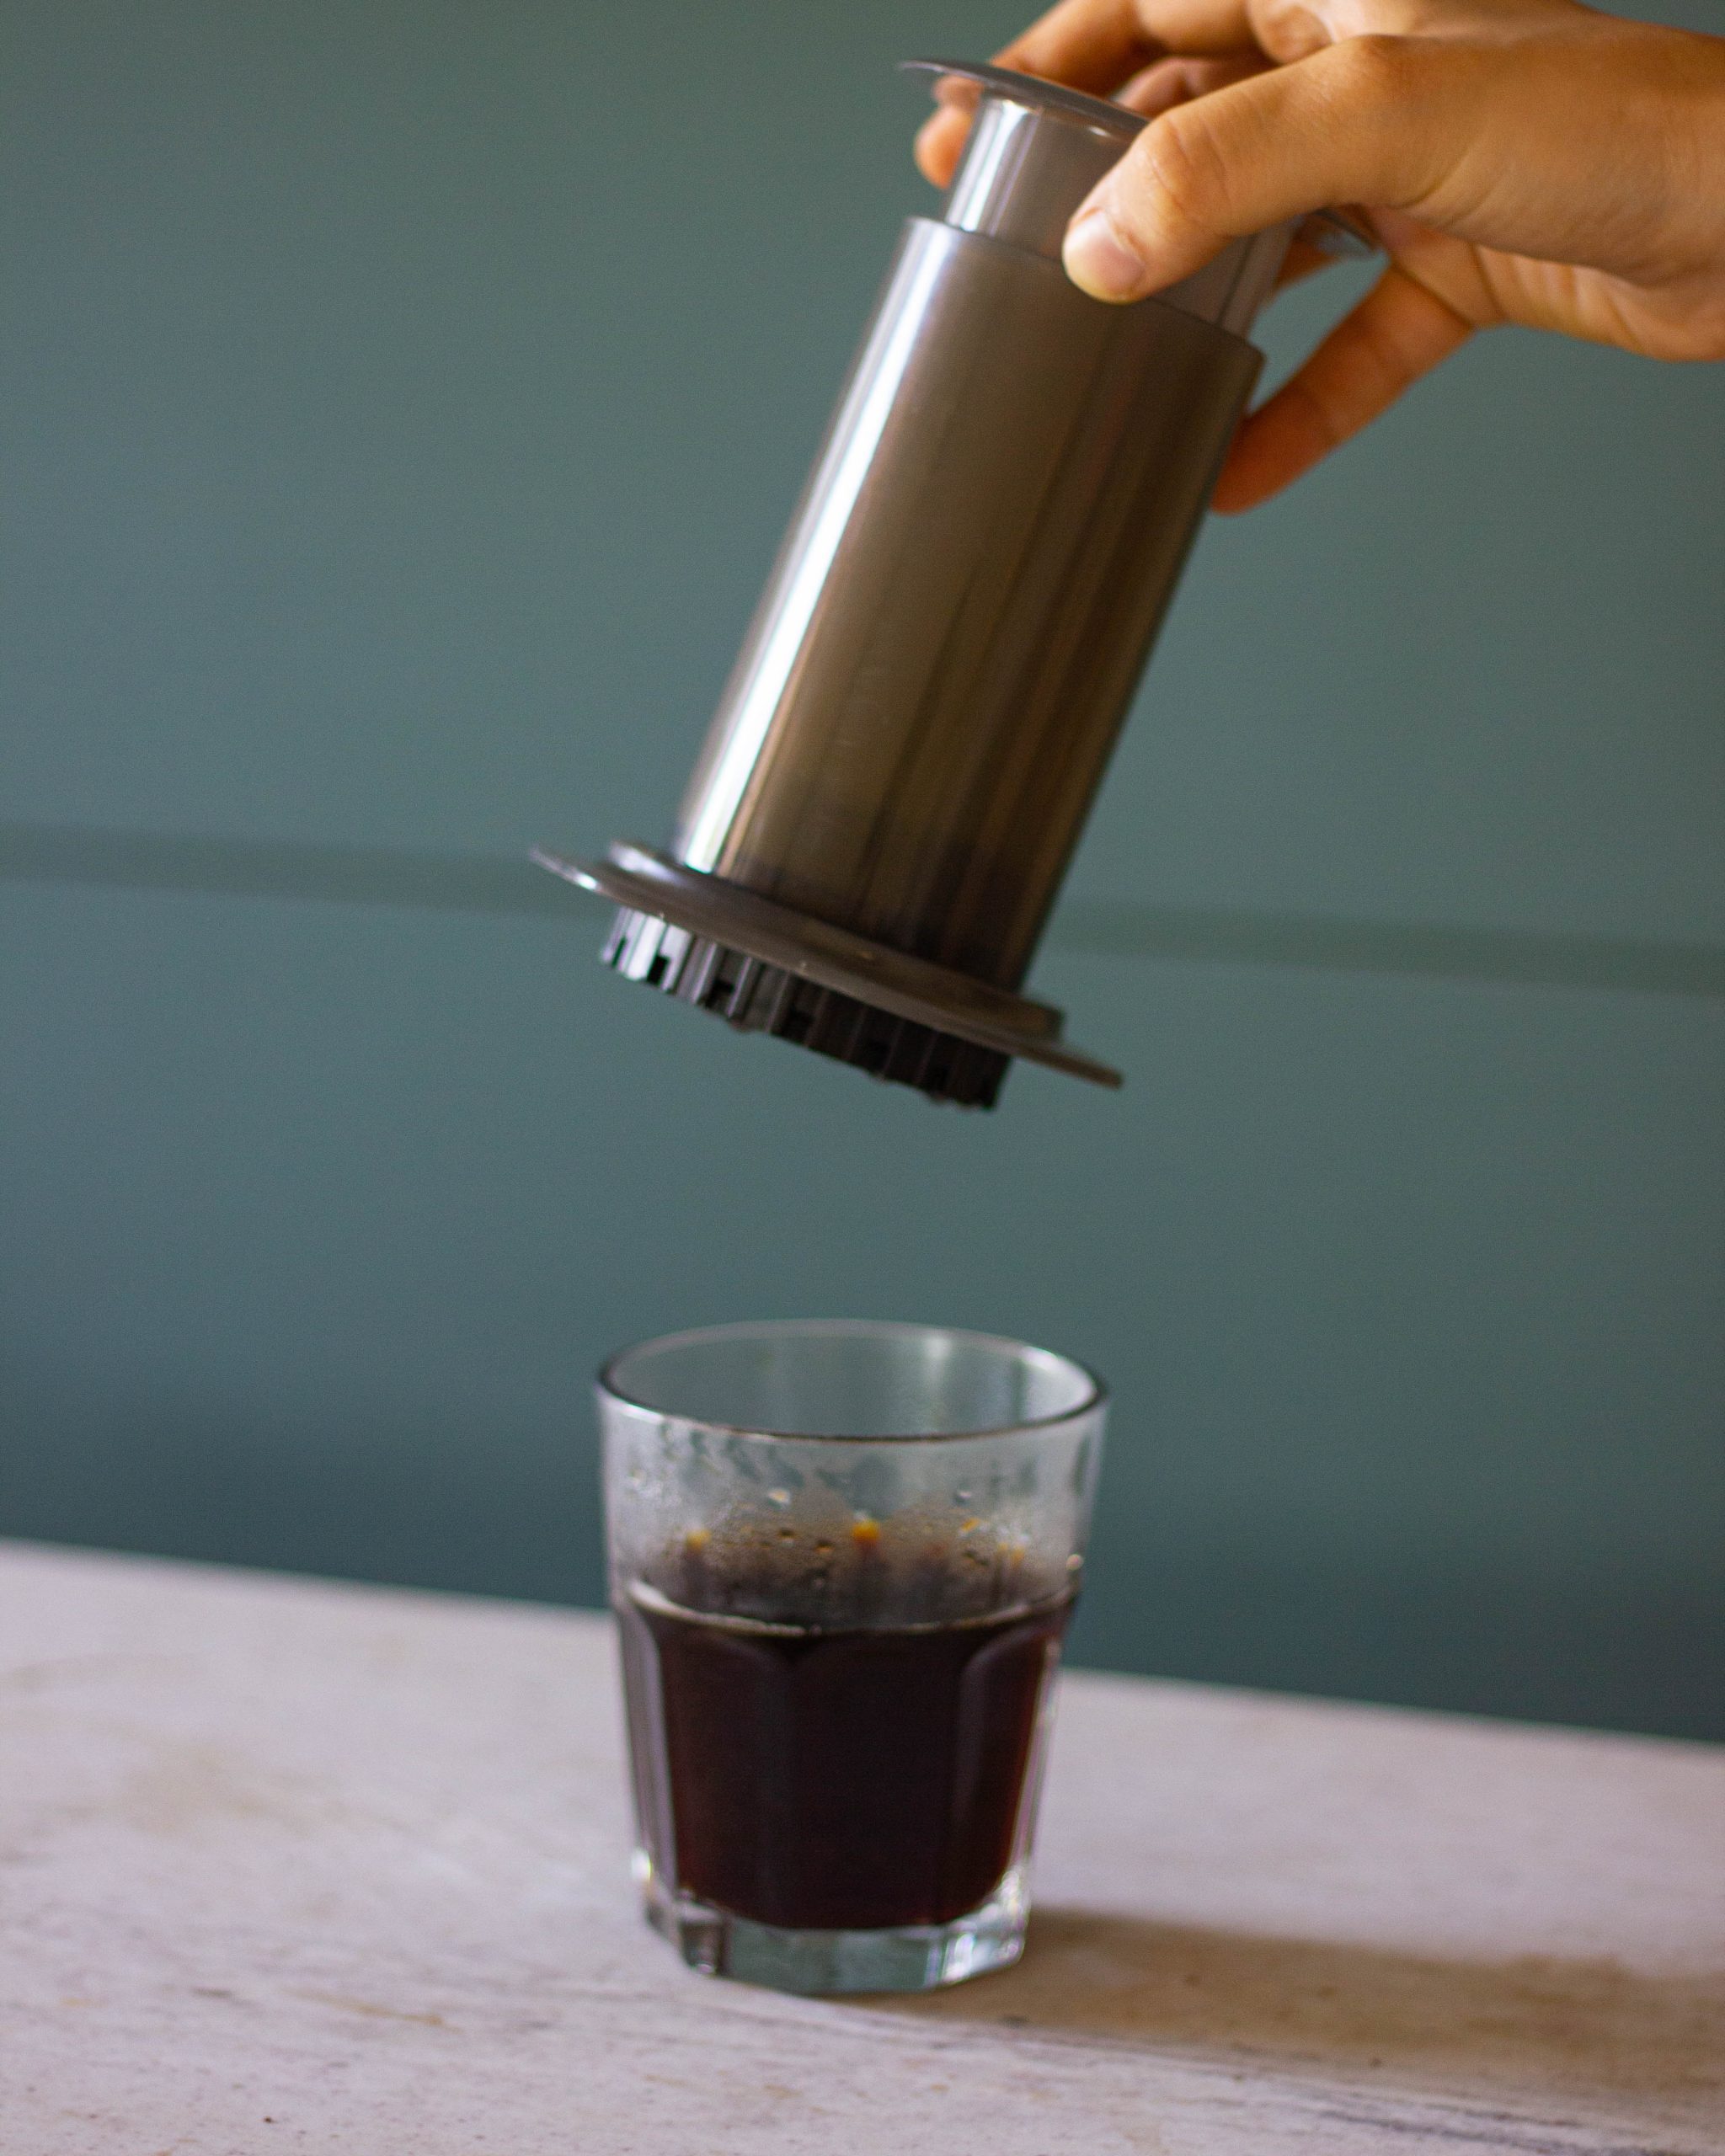
Your clean cup of really good coffee is now ready!
You can choose to either grind your beans, or simply ask us to grind it for you; In store or on our website